Mini Cardboard Models: A Beginner’s Guide to Small-Scale Builds
Learn how to work small with cardboard: choose a simple scale, use thin paperboard, glue with a toothpick and build a miniature chair and table from a few measured rectangles.
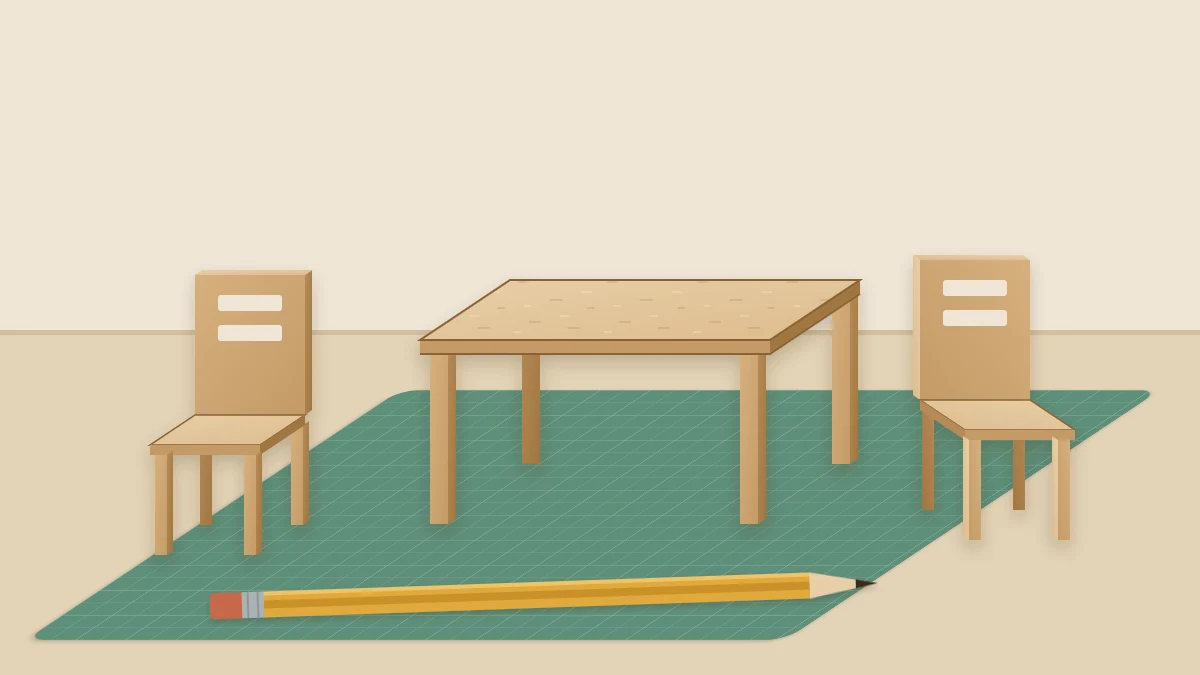
Project at a glance
Materials
- Thin paperboard
- Ruler and sharp pencil
- Scissors
- Blunt scoring tool
- White (PVA) glue
- Toothpicks and tweezers
Small-scale building asks for very little: a cereal box, scissors, glue and a clear corner of a table. What it gives back is a satisfying kind of problem solving, where a chair or a truck turns out to be a few rectangles in the right order.
Mini cardboard models are easier than they look once you settle three things: a scale, a suitable board and a way of handling parts too small for fingers. This guide covers each, then works through a miniature chair and table you can build from the measurements given.
Pick one simple scale
A scale is a fixed ratio between the real object and the model. The friendliest one for a beginner is one inch to one foot, often written 1:12, because the arithmetic is simple: divide any real measurement in inches by 12.
- A dining chair seat about 18 in from the floor becomes 1 1/2 in (3.8 cm).
- A chair back about 36 in tall becomes 3 in (7.6 cm).
- A table about 30 in tall becomes 2 1/2 in (6.4 cm).
Use the same scale for everything in a scene and the pieces will look right together, even if each one is very plain.
Use thin paperboard
Corrugated cardboard is too thick for parts this small, since a wall 1/8 in (3 mm) thick would be a foot and a half thick at this scale. Thin paperboard from cereal-style boxes is the right material: it cuts with scissors, scores cleanly and takes glue well. The guide to the different types of cardboard explains how it differs from chipboard and corrugated board.
A single layer is fine for folded parts. For flat parts that should stay rigid, such as a seat or a table top, glue two layers together and let them dry under a book. Everything in this guide can be cut with ordinary scissors.
Break the subject into boxes and layers
Before drawing anything, look at the real object and name its simple shapes. Almost everything reduces to three kinds of part:
- Flat panels: a seat, a table top, a door.
- Folded strips: legs, frames, rails.
- Boxes: a cabinet, a truck cab, a shed.
Sketch the object, list its parts, measure the real thing or estimate it, and divide by 12. Round each result to the nearest 1/8 in. Leave out anything smaller than about 1/8 in at model size; at this scale, a clean outline matters more than detail.
Handling and gluing small parts
White (PVA) glue is the right adhesive, used in tiny amounts. Squeeze a small puddle onto a scrap of card and apply it with a toothpick, so you place a dot or a thin line exactly where it is needed. Too much glue soaks thin board and makes it curl.
Hold and position parts with tweezers, and press joints for a slow count of thirty before letting go. The guide on gluing cardboard and making strong joints covers adhesives and joint types in more depth.
Tip
Build in sub-assemblies. Make each leg frame, let it set for roughly 20 to 30 minutes, and only then join the frames to the seat. Trying to glue everything at once is the usual reason small models end up crooked.
Worked example: a miniature chair
The chair has four parts. Cut the seat from doubled board and the others from a single layer.
- Seat: one square, 1 1/2 x 1 1/2 in.
- Back: one panel, 1 1/2 in wide and 1 3/4 in (4.4 cm) tall. Score a line 1/4 in (6 mm) from one short edge to make a glue tab.
- Leg pieces: two strips, each 1/4 in wide and 4 1/2 in (11.4 cm) long. Score each at 1 1/2 in and 3 in from one end.
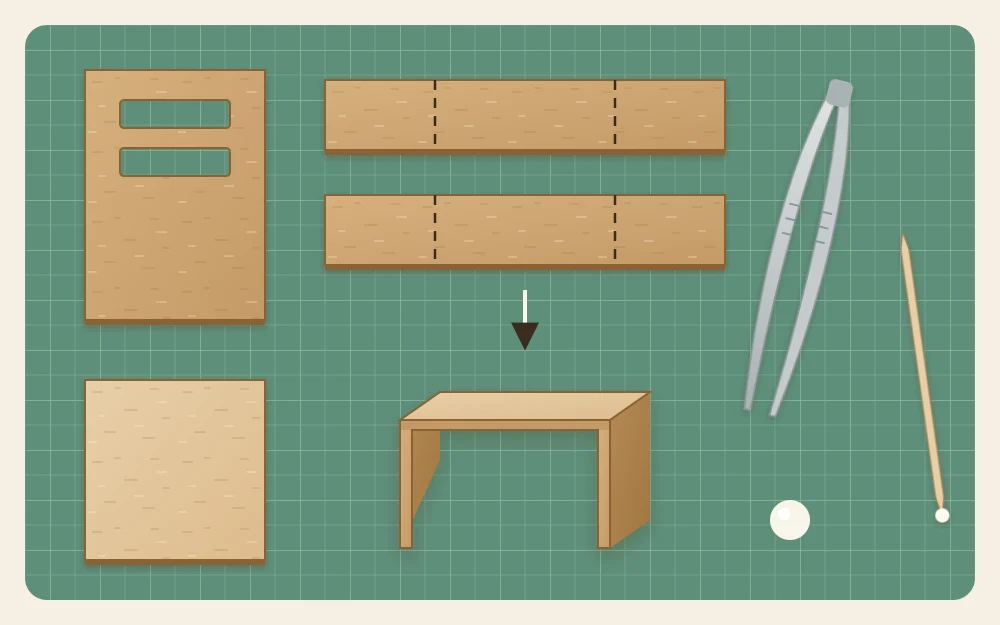
- Fold each leg strip at both scores into a square U shape: two legs 1 1/2 in long joined by a rail 1 1/2 in long. The three sections add up to the 4 1/2 in strip.
- Turn the seat upside down. Glue the rail of one leg piece along the front edge and the rail of the other along the back edge. Let both set.
- Stand the chair up and check that all four legs touch the table. Trim a long leg with scissors.
- Fold the tab on the back panel to a right angle and glue the tab flat on top of the seat along its rear edge, so the panel stands upright.
The back now rises 1 1/2 in above a seat 1 1/2 in off the ground, for a total of 3 in.
Add a table
The table uses the same idea with longer legs.
- Top: one rectangle of doubled board, 3 x 2 in (7.6 x 5 cm).
- Leg pieces: two strips, each 1/4 in wide and 6 3/4 in (17.1 cm) long, scored at 2 1/2 in and 4 1/4 in (10.8 cm) from one end.
Each strip folds into two legs 2 1/2 in long and a rail 1 3/4 in (4.4 cm) long: 2 1/2 + 1 3/4 + 2 1/2 in is 6 3/4 in. Glue the rails across the underside of the top, 1/4 in in from each short end and centered across the 2 in width, which leaves the top overhanging the legs by 1/8 in on each side.
If the legs feel floppy, cut the strips from doubled board instead. They fold a little less sharply but stand much straighter.
Resizing and designing your next model
To change the size of the chair or table, pick new real-life measurements and divide by 12 again, or switch scale altogether: at half an inch to the foot, divide by 24 and every part is half as large. The rule for a leg strip stays the same at any size: leg length, plus rail length, plus leg length.
Good next subjects are things made of plain boxes that you can measure at home or sketch from memory:
- More furniture: a bench is a stretched chair seat; a bookcase is an open box with shelves glued across it.
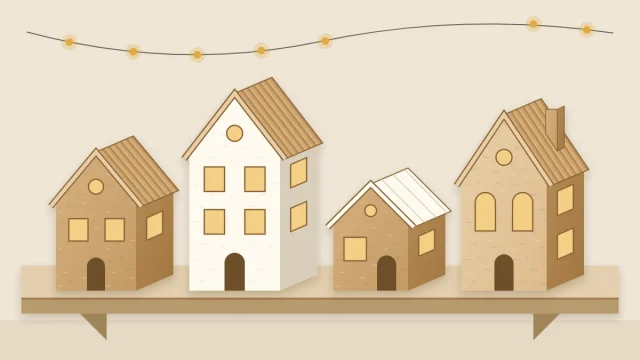
- A small shed: four walls from one scored strip and a single sloped roof panel. It is the same approach as these small decorative houses, at a smaller size.
- A simple truck shape: a short tall box for the cab, a long low box for the bed, and four discs for wheels.
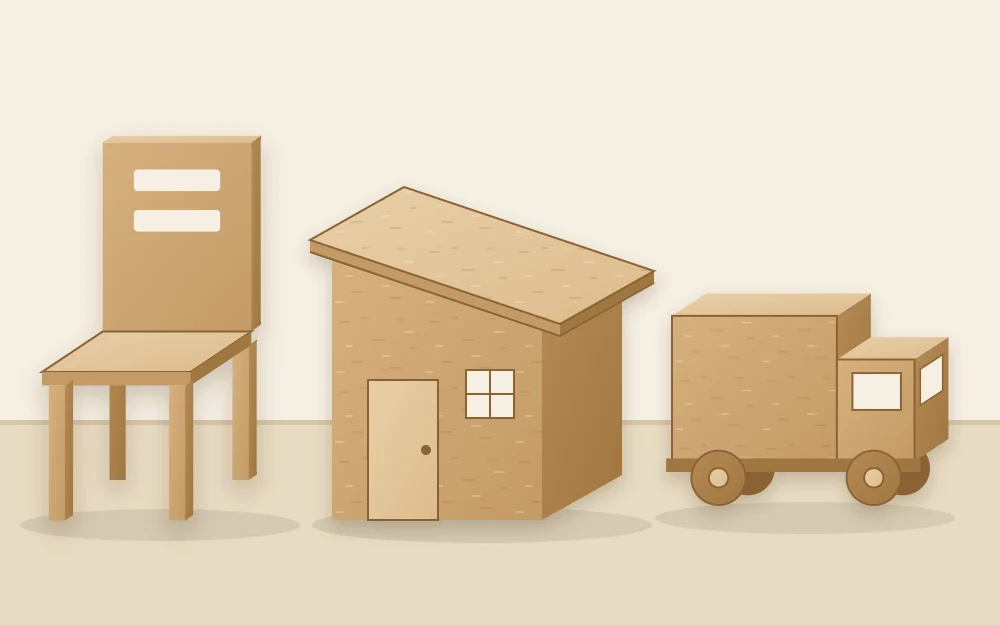
Design each one yourself from your own sketch and measurements.
Frequently asked questions
What scale should a beginner use for cardboard models?
One inch to one foot is a comfortable start. The parts are large enough to cut with scissors and hold with tweezers, and converting is simple: divide a real measurement in inches by twelve. Once that feels easy, half an inch to the foot makes everything half the size.
Why do my small parts curl after gluing?
Thin paperboard curls when it takes on too much moisture from one side. Use much less glue, applied as dots or a thin line with a toothpick, and let doubled parts dry flat under a book. Glue sticks are too weak for joints but fine for adding paper coverings.
Do I need a knife for miniature models?
Not for the projects in this guide. Thin paperboard cuts cleanly with ordinary scissors, and small sharp-pointed scissors help with short cuts. Straight, accurate marking matters more than the cutting tool, so sharpen the pencil and measure each part twice before cutting.