Cardboard Crafts for Beginners: Where to Start
A plain starting map for new cardboard crafters: where to find clean boxes, the three skills every project uses, how to set up a small work surface, and which projects to make first.
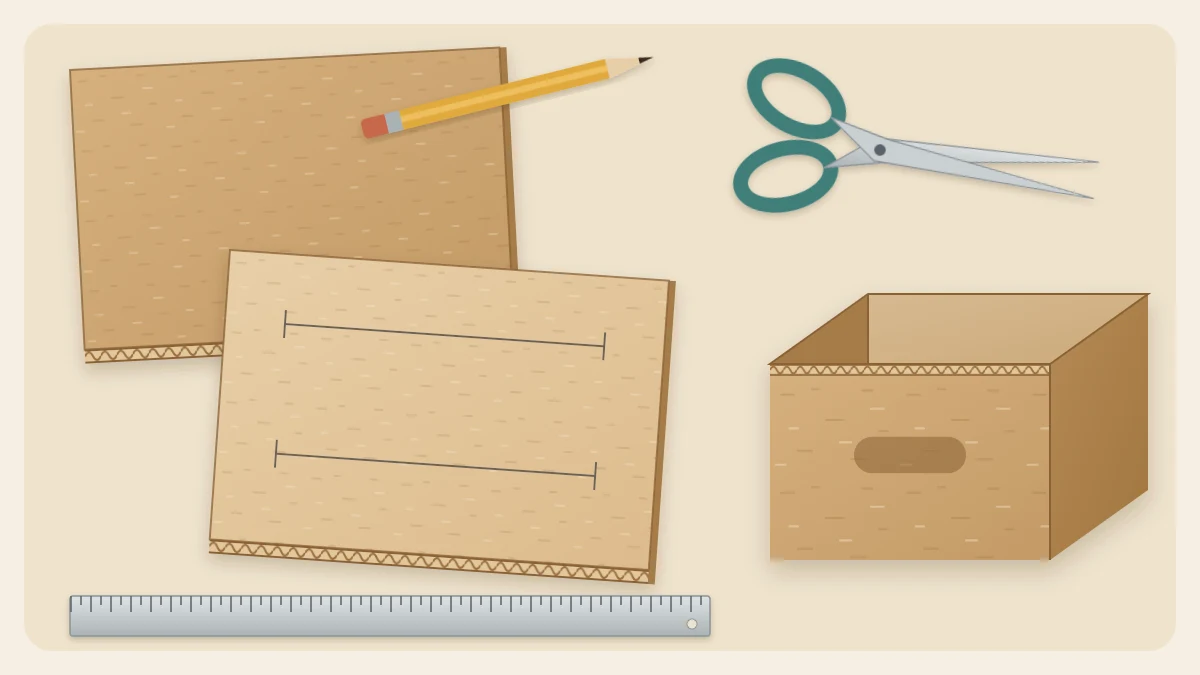
Cardboard is one of the few craft materials that turns up at your door for free. If you have a shipping box, a pencil and a pair of scissors, you already own enough to begin, which is exactly why cardboard crafts for beginners are such an easy hobby to try.
Think of this page as a map. It explains why the material is forgiving, where to find clean board, the three skills every project relies on, and a sensible order for your first few builds. Each skill has its own detailed guide, so the aim here is to show the route, not every step along it.
Why cardboard is a forgiving material
A mistake in cardboard costs almost nothing. If a panel comes out crooked, you cut another one from the same box and try again. That freedom to repeat a step is what builds skill quickly.
Cardboard is also soft enough to cut with hand tools, stiff enough to stand up as a box wall, and happy to take white glue, paper and paint. You can draw directly on it, erase, redraw and change your mind before anything is permanent.
Not all board behaves the same way, though. Corrugated cardboard has flutes, the wavy inner layer, sandwiched between two flat liners, and it bends far more easily in one direction than the other. Thin paperboard from a cereal-style box folds neatly but has little stiffness. A few minutes with the guide to the main types of cardboard and what each one suits will save you from picking the wrong sheet for a project.
Where to find clean cardboard
Most households produce more cardboard than a beginner can use. Good sources include:
- Shipping boxes for single-wall corrugated cardboard, roughly 1/8 in (3 mm) thick, which suits boxes, trays and organizers.
- Cereal-style and tissue boxes for thin paperboard, which suits bookmarks, tags and small models.
- Backs of notepads for chipboard, a dense solid board that makes rigid lids and covers.
- Paper towel and wrapping paper tubes for round shapes.
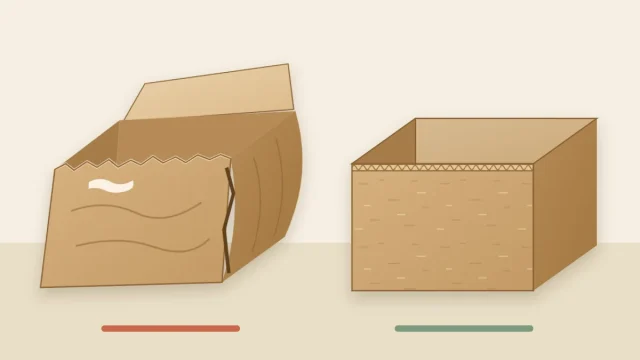
Choose boxes that are dry, flat and free of dents. Skip anything greasy, damp, musty or covered in layers of plastic tape, because glue and paint will not hold well on it. Cut each box open along one corner seam and store the panels flat.
The three core skills
Nearly every cardboard project, from a bookmark to a storage box, is made of the same three actions repeated in a different order.
Cutting
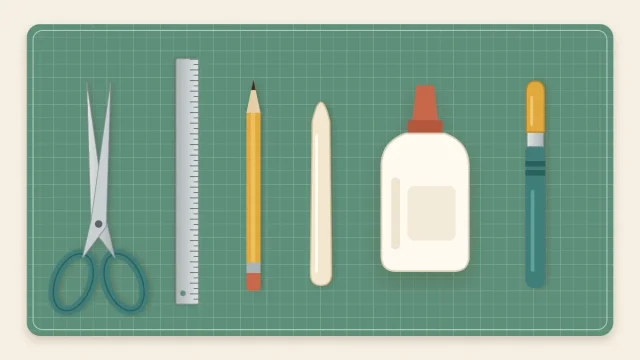
Scissors handle thin paperboard and gentle curves. Straight lines in corrugated board come out cleaner with a craft knife drawn along a metal ruler on a cutting mat, in several light passes instead of one hard one. Knife work is a job for an adult; if you would prefer to avoid an open blade, use scissors with thin board or a safety cutter with a shielded blade.
Scoring
To score is to press a groove along a fold line without cutting through. The groove tells the board exactly where to bend, so folds land where you drew them instead of wandering or cracking.
Gluing
White (PVA) glue is the default adhesive. Spread it thin, press the parts together, hold them with clips, and give the joint time. It is usually firm enough to handle in roughly 20 to 30 minutes and reaches full strength after several hours or overnight.

Set up a small work surface
You do not need a workshop. A cleared section of table about 24 in (60 cm) wide is enough for most first projects, as long as it is flat, steady and well lit.
- Protect the table with a self-healing cutting mat, or a thick piece of scrap board if you are only using scissors.
- Keep a pencil, an eraser and a metal ruler within reach, with the glue on the side of your writing hand.
- Put a damp cloth nearby for wiping glue from fingers before it reaches the project.
- Keep a small tray or box for offcuts. Scraps become glue spreaders, spacers and test pieces.
The full kit is short and inexpensive, and most of it may already be in a drawer. The list of starter tools for cardboard crafting explains what each item does and which extras can wait.
Safety note
If an adult is using a craft knife, keep fingers behind the cutting path, cut away from the body, use a sharp blade, and cap or retract it every time it is put down.
A sensible order for your first projects
Start flat, then fold, then build. Each stage adds one new skill while repeating the ones you already have.
- A flat project in thin paperboard. Bookmarks or gift tags teach you to measure, mark and cut cleanly with scissors.
- A small folded box. This is the classic first build because it uses all three core skills on one sheet. The tutorial for a small box with a lid gives the full net and every measurement.
- A shallow tray or simple frame. Here you add a second layer for stiffness and start thinking about how the piece looks.
- An organizer with compartments. Several parts have to fit together, so accuracy begins to matter.
- A decorative piece. Layered art, geometric shapes or small houses bring in painting and finishing.
Give each stage two or three attempts before moving on. The second version of anything is noticeably better than the first.
Habits that make early projects go better
A few small routines prevent most beginner frustration:
- Measure from one straight edge of the sheet, and check that edge with your ruler before trusting it.
- Mark fold lines and cut lines differently, for example dashed for folds and solid for cuts.
- Do a dry fit, assembling the parts without glue, before you commit.
- Use less glue than seems necessary. Thick glue soaks in and warps the board.
- Leave the piece alone while it dries, however tempting it is to test the joint.
When something does go wrong, it is usually one of a small number of well-known problems. The rundown of common cardboard problems and their fixes will help you find the cause quickly.
What to expect from finished pieces
Cardboard projects are best for light, dry household items: pens, keys, letters, craft supplies, small keepsakes. They are not suited to damp rooms, heavy contents or anything hot, and they should stay away from flames and heat sources.
Within those limits, clean edges, square corners and a patient finish are what turn a recycled box into something you are pleased to keep on display.
Frequently asked questions
Do I need a craft knife to start cardboard crafts?
No. Many first projects can be made from thin paperboard with ordinary scissors, and a safety cutter with a shielded blade handles straight cuts in corrugated board. A craft knife gives cleaner lines in thicker sheets, but it is an adult tool that belongs on a cutting mat with a metal ruler.
What is the best first cardboard project?
A flat project such as a bookmark or gift tag is the gentlest start, because it only asks you to measure and cut. A small folded box is the best second step, since it brings cutting, scoring and gluing together on a single sheet and shows quickly where your accuracy needs work.
Can I use any old box for crafting?
Most clean, dry boxes work. Avoid board that is greasy, damp, musty, badly dented or wrapped in layers of plastic tape, because glue and paint grip poorly on those surfaces. Flatten good boxes along a corner seam and store the panels lying flat so they stay straight until you need them.