Cardboard Fall Decor: A Leaf Garland and Slotted Pumpkins
Two autumn projects from recycled boxes: a 15-leaf garland cut from thin card in three freehand shapes, and a ribbed pumpkin built from four identical slotted discs with a rolled stem. Sizes and spacing included.
Project at a glance
Materials
- Thin paperboard and single-wall corrugated cardboard
- Scissors, ruler and pencil
- Craft knife and cutting mat
- Acrylic paint in warm colors
- White (PVA) glue or tacky glue
- Hole punch and twine
Kraft brown is already an autumn color, which makes cardboard fall decor an easy fit for a mantel, a shelf or a dinner table.
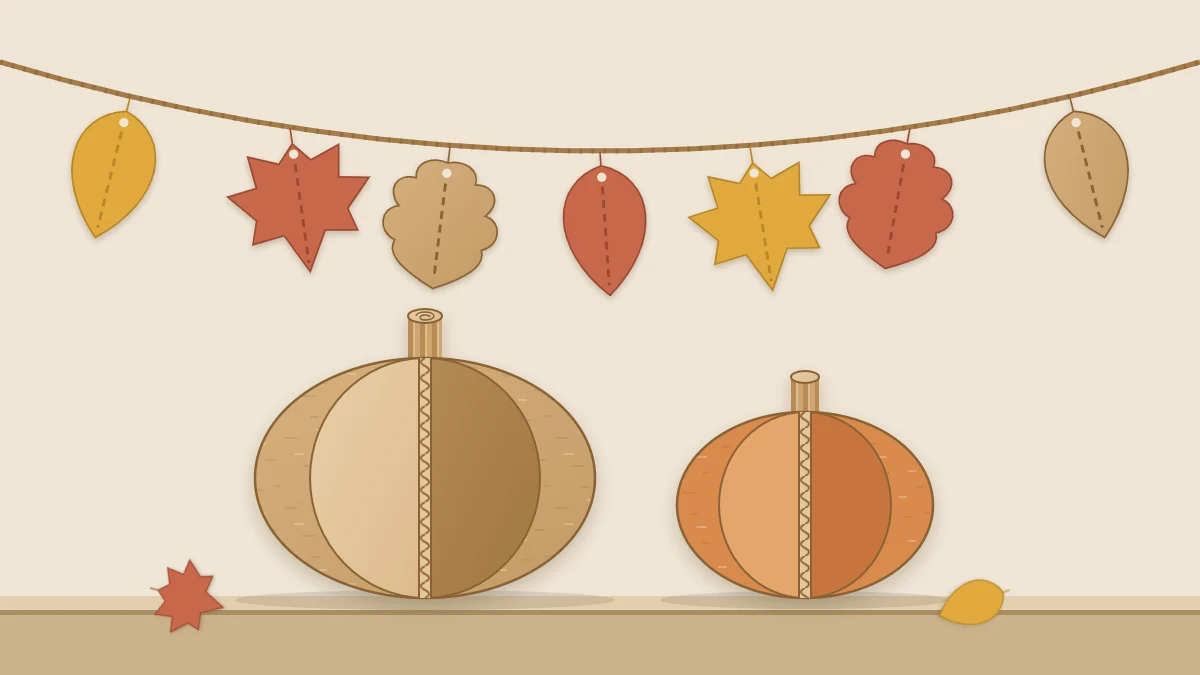
There are two projects here. The first is a garland of leaves cut from thin card and strung on twine. The second is a three-dimensional pumpkin made from four identical discs, with a stem rolled from a strip of corrugated board.
What You Need
- Thin paperboard (cereal-box weight) for the leaves
- Clean single-wall corrugated cardboard, roughly 1/8 in (3 mm) thick, for the pumpkins
- Scissors, pencil, metal ruler and a blunt scoring tool
- Craft knife and cutting mat for the pumpkin slots
- Acrylic paint in mustard, terracotta and deep orange
- White (PVA) glue or tacky glue
- Hole punch and about 6 ft (1.8 m) of twine
Safety note
The leaf garland needs only scissors. Cutting corrugated board with a craft knife is a job for an adult: use a cutting mat and a metal ruler for straight cuts, make several light passes instead of one hard one, keep your fingers behind the cutting path and cut away from your body. Keep the blade sharp, and cap or retract it when you put it down.
Draw and Cut the Leaves
Three leaf shapes give the garland variety without making it fussy. Draw a light rectangle for each one, then sketch the leaf freehand so it touches all four sides.
| Leaf | Rectangle | Shape |
|---|---|---|
| Oval | 2 x 3 1/2 in (5 x 9 cm) | Pointed tip, smooth sides |
| Lobed | 2 1/2 x 4 in (6.5 x 10 cm) | Three or four rounded waves along each side |
| Pointed | 3 1/2 x 3 1/2 in (9 x 9 cm) | Five points spreading like a hand |
- Draw and cut one leaf of each shape. Add a short stem, about 1/2 in (12 mm) long, at the base of each.
- Use your three cut leaves as patterns. Draw around each one four more times and cut them out, for 15 leaves in total.
- Score a center vein on every leaf from the stem to the tip, then bend the leaf gently along it.
- Paint five leaves mustard and five terracotta, and leave five in plain kraft. Use thin coats, and paint both faces so the card does not curl.

String the Garland
- Punch two small holes side by side near the stem end of each leaf, about 1/2 in apart, one on each side of the vein.
- Cut 72 in (180 cm) of twine. Thread it down through one hole and up through the other so it passes behind the leaf.
- Slide the first leaf along until 8 in (20 cm) of twine is left free at the end for tying.
- Add the remaining leaves, alternating shapes and colors, with 4 in (10 cm) between one leaf and the next.
The length works out like this: 15 leaves have 14 gaps between them, and 14 x 4 in is 56 in. Two 8 in tails bring the total to 72 in. For a longer garland, add 4 in of twine for every extra leaf.
Two holes hold each leaf facing forward. A dot of glue behind the leaf fixes the spacing for good.
Cut the Pumpkin Discs
Each pumpkin is built from four identical flattened ovals, 5 in (12.5 cm) wide and 4 in (10 cm) tall.
- On corrugated board, draw a 5 x 4 in rectangle with the flutes running along the 4 in height.
- Draw a vertical center line, 2 1/2 in (6.5 cm) from each side.
- On the top and bottom edges, mark 1 in (2.5 cm) either side of the center line. These 2 in (5 cm) flats stay straight. The bottom one lets the pumpkin stand, and the top one supports the stem.
- Round off the four corners with generous curves that run from the end of each flat to the middle of each side.
- Cut out the disc. Draw around it three times to make four identical discs.
- On every disc, cut a slot along the center line from the top flat down to the middle, 2 in long and as wide as the board is thick.
Scissors handle the outer curves if you cut slowly, but the slots need a knife. The guide to cutting cardboard cleanly covers curves and narrow slots.
Assemble the Pumpkin and Stem
- Paint the discs now, on both faces, if you want color. Let them dry flat.
- Take two discs. Turn one upside down so its slot points up, and slide the two together until the flats line up. Each slot is 2 in long, and 2 + 2 = 4 in, the full height. You now have a cross with four ribs.
- Cut the other two discs in half along the center line, continuing the slot to the bottom. This gives four half ovals.
- Run a thin line of glue down the straight edge of one half and press it into one inside corner of the cross, midway between two ribs. Repeat in the other three corners for eight ribs.
- For the stem, cut a strip 1 1/4 x 6 in (3 x 15 cm) with the flutes running across the short width. Roll it into a tight coil about 1 in across, glue the end down and hold it for a minute.
- Glue the coil to the top of the pumpkin, where the flats meet.

Stand the pumpkin on a flat surface while the glue dries, for roughly 20 to 30 minutes. For a larger or smaller pumpkin, keep the width at about one and a quarter times the height and make each slot half the height.
Arranging the Display
Drape the garland along a mantel edge or across a mirror, letting it dip slightly between fixing points. On a wall it pairs well with other lightweight cardboard wall decorations.
Pumpkins look best in a group of three in different sizes. Cardboard burns, so keep the display away from open flames and heaters, and use battery-operated LED lights only if you want a glow.
The same leaf shapes can be stacked into a relief picture. The tutorial on layered cardboard art shows how to build a scene in layers, and an autumn hillside is a good subject.
Storing It for Next Year
Wind the garland loosely around a piece of scrap cardboard and slip it into a large envelope so the leaves stay flat. Glued pumpkins do not come apart, so pack them in a box with crumpled paper around the ribs. If you would like pumpkins that store flat, make the four-rib version from two slotted discs and skip the glued halves. Keep everything somewhere dry, because damp softens the board.
Frequently asked questions
Do I need to be good at drawing to make the leaves?
No. Each leaf is sketched inside a small rectangle, which fixes its size and proportions, and uneven edges make it look more natural. Draw one of each shape, cut it out, and use it as your own pattern for the rest, so you only have to draw three leaves in all.
Why are the pumpkin discs flat at the top and bottom?
A true oval would rest on a single point and rock. The flat at the bottom gives each rib a stable edge to stand on. Because one disc is turned upside down when the two are slotted together, the same flat is needed at the top, where it also makes a seat for the stem.
How long will cardboard fall decorations last?
Kept dry and stored carefully, they can come out again for several seasons. Damp is the main enemy, since it softens the board and makes painted leaves curl. Store the garland flat, pack the pumpkins loosely in a box, and keep both in a dry cupboard instead of a garage or basement.