Layered Cardboard Art: How to Build a Relief Picture
Design and build your own relief landscape from five stacked cardboard layers and a sun, using a simple planning grid, a cutting list and hidden spacers that create real shadows.
Project at a glance
Materials
- Single-wall corrugated cardboard
- Plain paper for the sketch
- Metal ruler, pencil and compass
- Craft knife and cutting mat, or scissors with thin board
- White (PVA) glue
- Acrylic paint (optional)
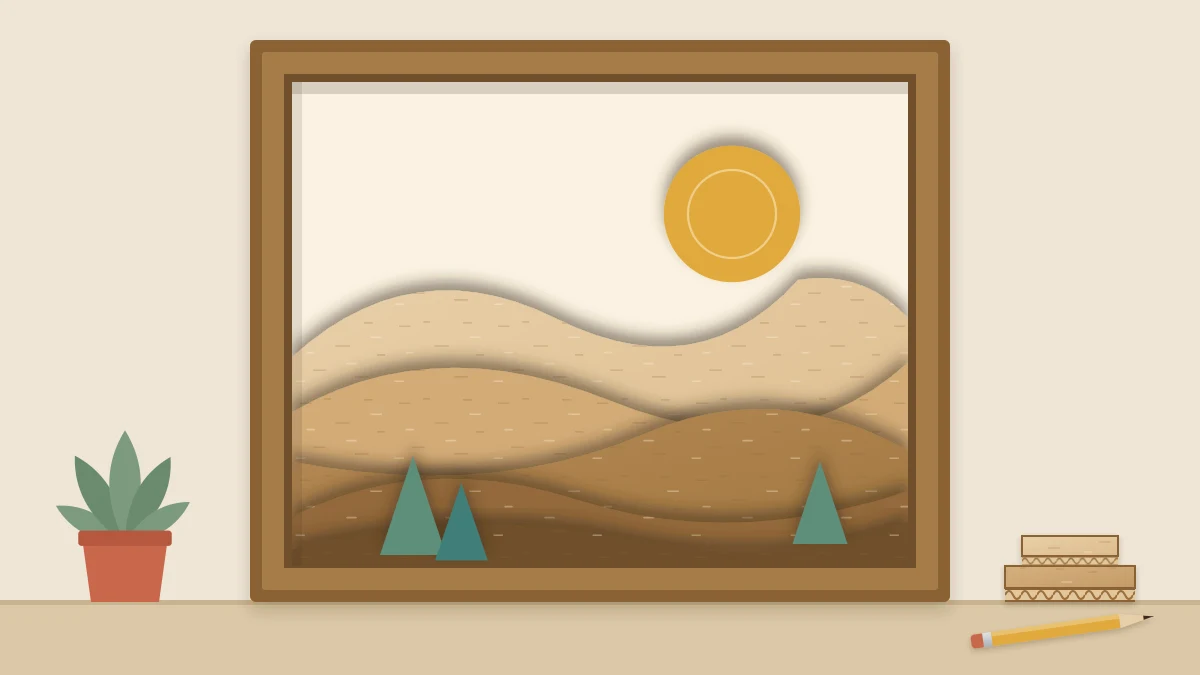
Layered cardboard art builds a picture out of stacked silhouettes. Each layer sits a little in front of the one behind, and the gaps between them throw real shadows, so even plain brown board reads as hills fading into the distance.
This project is a landscape you design yourself: a low sun and five ranges of hills on a panel 10 in wide and 8 in tall (25 x 20 cm). A simple planning grid keeps the layers from hiding one another, and the skylines are yours to draw.
What You Need
- Single-wall corrugated cardboard, about 1/8 in (3 mm) thick: roughly two large box panels
- A sheet of plain paper for the sketch
- Metal ruler, pencil and a compass or a round lid for the sun
- A cutting tool suited to your board
- White (PVA) glue
- Acrylic paint, if you want tones instead of bare kraft
Plan the Picture on Paper
Draw a 10 x 8 in rectangle on paper and rule seven light horizontal lines across it, 1 in (2.5 cm) apart. That divides the height into eight equal parts. Read them from the top:
- The top two parts are open sky.
- The next five parts are bands, one for each layer of hills.
- The bottom part is solid foreground.
Now sketch five skylines, one inside each band. A skyline may rise and dip as much as you like, but it stays inside its own band and a little short of the band’s edges. Because no line ever crosses into a neighbor’s band, a strip of every layer is certain to show. Make the far hills long and smooth and the near ones more uneven; that alone suggests distance.
Add the sun as a circle 2 1/2 in (6.5 cm) across, with its center 6 1/2 in (16.5 cm) up from the bottom edge. Its lower part will sink behind the farthest hills.
Cutting List
| Part | Blank size | Skyline band, measured from the bottom |
|---|---|---|
| Backing board | 10 x 8 in (25 x 20 cm) | None; left whole as the sky |
| Sun | Disc 2 1/2 in across | None |
| Layer 1 (farthest) | 10 x 6 in (25 x 15 cm) | 5 to 6 in |
| Layer 2 | 10 x 5 in (25 x 12.5 cm) | 4 to 5 in |
| Layer 3 | 10 x 4 in (25 x 10 cm) | 3 to 4 in |
| Layer 4 | 10 x 3 in (25 x 7.5 cm) | 2 to 3 in |
| Layer 5 (nearest) | 10 x 2 in (25 x 5 cm) | 1 to 2 in |
Every layer is the full width of the panel and reaches all the way down to the bottom edge. Only the top edge is shaped.
Cut From Back to Front
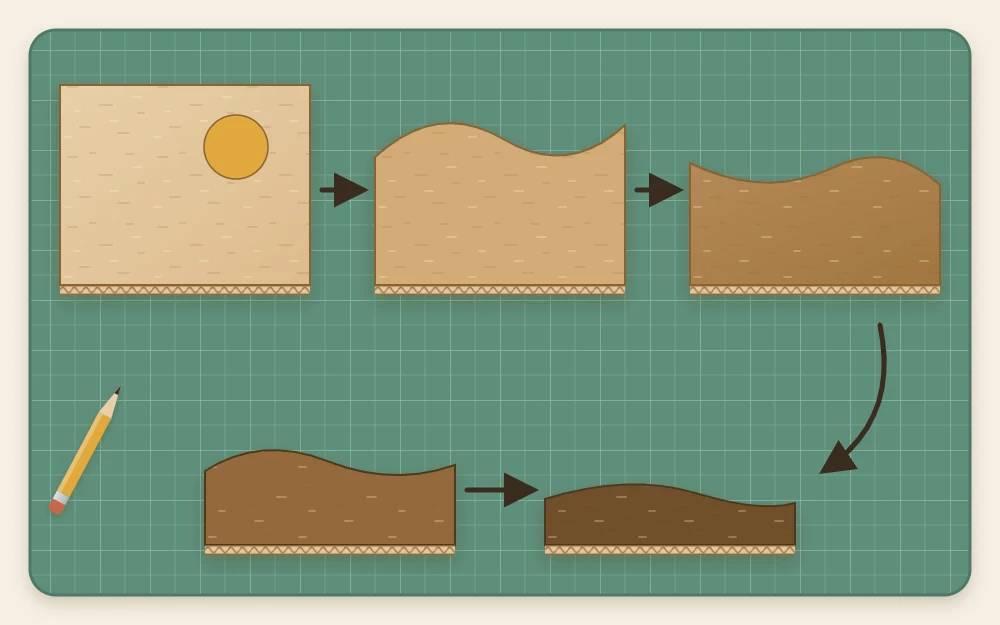
Cut the rectangular blanks first and write the layer number on the back of each one, with an arrow pointing up. Then work from the farthest layer forward:
- Copy the skyline for layer 1 onto its blank by measuring up from the bottom edge at a few points and joining them freehand.
- Cut the skyline and lay the layer on the backing board, bottom edges together.
- Draw and cut layer 2, lay it on top and look at the strip of layer 1 that still shows. If a stretch looks too thin, lower the new skyline there before moving on.
- Repeat for layers 3, 4 and 5, then cut the sun.
Working in this order means each new edge is judged against the real layers behind it, not against the sketch. Flowing curves in corrugated board take patience; the guide on how to cut cardboard cleanly covers curves and the choice of tool.
Safety note
Cutting curves in corrugated board with a craft knife is a job for an adult. Work on a cutting mat, use several light passes with a sharp blade, turn the board instead of your wrist, keep fingers behind the cutting path and cap the blade when you set it down. For a scissors-only version, cut the layers from thin paperboard and rely on the spacers for depth.
The cut skylines will show the flutes. If you prefer smooth edges, choose one of the finishes in the guide to hiding the corrugation on cut edges and apply it before assembly.
Add Spacers and Stack the Layers
The shadows come from small spacers: squares of corrugated scrap about 3/4 in (2 cm) across, glued between the layers where nobody will see them.
- Glue the sun flat onto the backing board at its planned position. It is as thick as one spacer, so it also supports layer 1.
- Glue six spacers to the back of layer 1 in two rows, each at least 1/2 in (1.2 cm) inside the skyline and the side edges.
- Glue layer 1 to the backing board with bottom and side edges flush.
- Continue forward. Six spacers suit layers 2 and 3; four in a single row are enough for layers 4 and 5.
- Rest a book on the stack for roughly 20 to 30 minutes, then leave it overnight.
A spacer is always hidden if it sits inside the outline of the layer in front of it. With six boards and five gaps of 1/8 in each, the finished relief is about 1 3/8 in (3.5 cm) deep. Doubling the spacers adds another 1/8 in to each gap and deepens the shadows.

Leave It Kraft or Paint in Tones
Bare kraft board works because the shadows do the separating. If you paint, do it before stacking and use thin coats of acrylic on both faces so the layers stay flat. A reliable scheme is one color mixed with white in five steps: palest for layer 1, full strength for layer 5. Paint the backing board lighter still, and give the sun a warm accent.
Frame, Resize and Vary
To close the open sides, glue strips 1 3/8 in wide around the edge: two that are 8 in long for the sides, then two that are 10 1/4 in (26 cm) long across the top and bottom, covering the ends of the side strips.
For another size, keep the method and change the grid: divide the panel height into eight equal parts and size each blank to match. The finished panel is light enough to hang like other cardboard wall decorations.
The subject is open too. Rooftops, waves or a line of trees all break into bands, and overlapping leaf shapes in the spirit of this cardboard fall decor make a good seasonal panel.
Frequently asked questions
How many layers does a layered cardboard picture need?
Five or six is a comfortable number for a first picture. Fewer than four tends to look flat, and more than seven makes the stack deep and slow to cut. The planning grid in this project scales to any count: allow one band per layer, plus sky above and solid foreground below.
Do I have to use spacers between the layers?
No, but they make a clear difference. Layers glued directly together are separated only by the thickness of the board, which gives a thin shadow line. Small hidden spacers lift each layer further forward, so the shadows become wider and the picture reads as deeper from across a room.
Can I make layered art from thin cereal-box card?
Yes. Thin paperboard cuts easily with scissors and takes fine detail well. Because the board itself adds almost no depth, the spacers do all the work, so use corrugated scraps for them and add a few extra per layer to stop the thin card from sagging between supports.