Cardboard Wall Decorations: 7 Ideas for Lightweight Wall Art
Seven original wall art ideas in cardboard, from relief tiles and a sunburst to a honeycomb cluster and a woven panel, with the main sizes for each and simple ways to hang them.
Cardboard wall decorations cost almost nothing, weigh very little and can be as plain or as detailed as you like. A flat shipping box holds enough material for a whole wall of tiles, and a mistake only costs another piece from the recycling pile.
The seven ideas below are starting points, each with the main sizes and what the work involves. All of them are drawn with a ruler, a pencil and sometimes a compass, so the design is your own from the first line.
Why Cardboard Works Well on a Wall
Wall pieces do not get handled, so they need far less strength than a box or an organizer. That leaves you free to use offcuts, thin paperboard and single layers of corrugated board. The light weight also keeps hanging simple, which matters in a rented home.
The natural kraft color sits comfortably next to wood, plants and white walls. A little white or a single accent color is often enough; raw corrugated edges can be left showing as texture or hidden, depending on the look you want.
Flat and Relief Ideas
1. Relief tiles in a grid
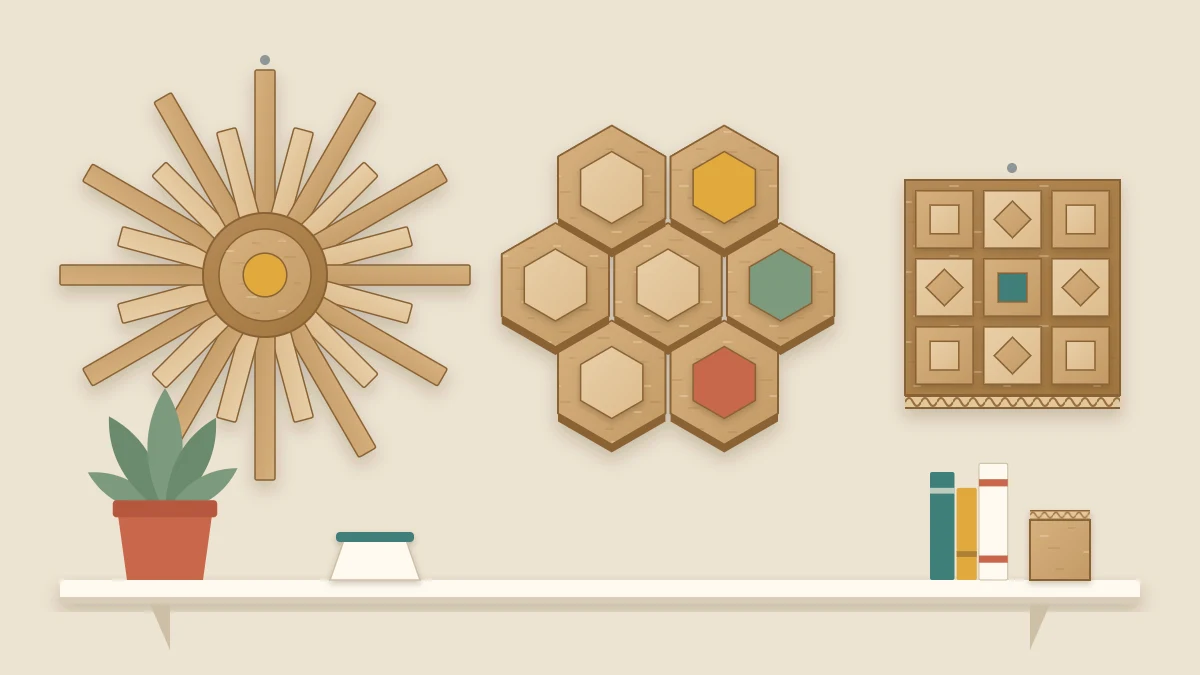
Cut nine squares of corrugated board, each 4 in (10 cm) across, and glue a raised pattern of strips or smaller squares onto every one. Hung three by three with 1/2 in (1.2 cm) gaps, they make a panel 13 in (33 cm) square. Vary the pattern from tile to tile but keep the outline identical. For a more pictorial take on stacked layers, see the tutorial on building a layered relief picture.
2. A sunburst from strips
Cut a center disc 6 in (15 cm) across and sixteen strips 3/4 in (2 cm) wide: eight that are 9 in (23 cm) long and eight that are 6 in (15 cm) long. Glue them to the back of the disc like spokes, alternating long and short, each one starting 1 in (2.5 cm) inside the rim. The finished piece is about 22 in (56 cm) across.
Tip
To space sixteen spokes evenly, cut a paper circle the size of the disc and fold it in half four times. Unfolded, its creases mark sixteen equal directions to copy onto the back of the disc.
3. A honeycomb cluster
Set a compass to 2 in (5 cm) and draw a circle. Without changing the setting, step the compass around the circle; it fits exactly six times. Join the six marks and you have a hexagon with 2 in sides, 4 in from corner to corner. Cut seven or more, paint two or three of them, and hang them edge to edge with a small even gap.

Silhouettes and Depth
4. Leaf and branch silhouettes
Draw a gently curving branch about 16 in (40 cm) long on thin paperboard, then draw ten to twelve leaves freehand, each 2 to 3 in (5 to 7.5 cm) long. Thin board cuts easily with scissors, so the curves can be as loose as you like. Score a center vein on each leaf, bend it slightly and glue only the stem end to the branch so the leaves lift off the wall and cast a shadow.
5. A shadow box
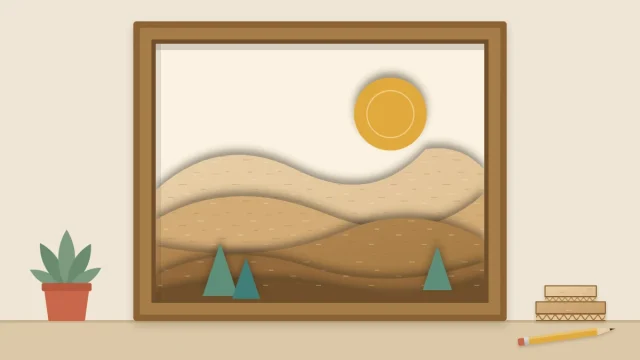
Make a shallow open box about 8 in (20 cm) square and 1 1/2 in (4 cm) deep, then mount small cut shapes inside it at different depths on little cardboard blocks. Paint the inside one dark tone and leave the shapes in kraft. The walls throw a soft shadow that changes through the day.
Texture and Movement
6. A woven panel
Strips of thin paperboard woven over and under each other give a basket-like surface with no special tools. Two tones, such as kraft and cream, turn it into a checker pattern. The full method, with strip counts and edge finishing, is in the guide to weaving a wall panel from cardboard strips.
7. A geometric hanging
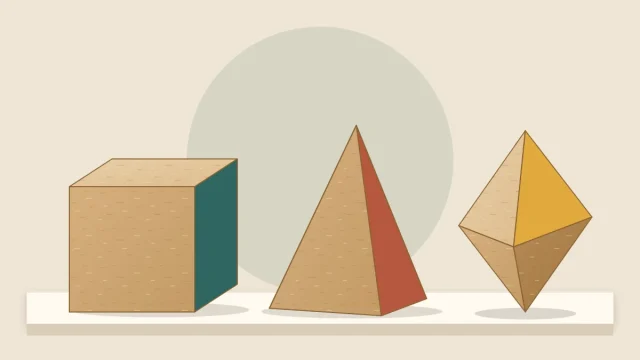
Fold three or five small faceted shapes from thin board and hang them at different heights on thread from a strip of doubled corrugated board about 12 in (30 cm) long. The shapes turn slowly in moving air. Cubes, pyramids and a faceted gem are all covered in the tutorial on simple 3D cardboard shapes; thread a knotted length through one corner before you close the last face.
Cutting and Finishing Notes
Most of these pieces look best when the cuts are crisp and the color is restrained. Paint both faces of thin parts, or neither, so they dry flat. A coat of water-based sealer makes dusting easier later.
Safety note
Straight cuts in corrugated board with a craft knife are a job for an adult: use a cutting mat and a metal ruler, make several light passes, keep fingers behind the cutting path and cap the blade afterward. Scissors handle thin paperboard, and a safety cutter with a shielded blade is another option.
How to Hang Lightweight Pieces
Because each piece weighs so little, two simple methods cover nearly everything:
- Removable adhesive strips. Good for flat-backed pieces such as tiles, hexagons and frames. Press them onto a clean, dry, painted wall and follow the instructions on the pack for removal.
- A small nail or pin. Good for anything with a loop or a cord, such as a woven panel, a shadow box or a hanging.
For grids and clusters, lay the arrangement out on the floor first, then cut a paper spacer the width of the gap and use it between pieces as you work across the wall. Start from the center and move outward so small errors do not pile up on one side.
These ideas also mix well with framed prints. A handmade cardboard picture frame in the same color ties a grouping together.
Where Not to Hang Cardboard
Cardboard takes up moisture from the air, softens and warps, so keep it out of bathrooms, away from the wall behind a sink or stove, and off exterior walls that feel cold or damp in winter. Strong direct sun fades paint and bleaches kraft board over time.
Cardboard also burns. Hang it well away from heaters, fireplaces, stoves and any open flame, and if you want a glow near a shadow box, use battery-operated LED lights only.
Frequently asked questions
How do I hang cardboard wall art without damaging the wall?
Removable adhesive strips suit flat-backed pieces because cardboard is so light. Press them onto a clean, dry, painted surface and follow the pack instructions when you take them down. For pieces with a loop or cord, one small pin or nail leaves only a tiny hole.
Will cardboard wall decorations warp over time?
They can if the room is humid or if only one face was painted. Keep them on a dry interior wall, paint or seal both faces of thin parts, and let everything dry flat under a light weight before hanging. Pieces built from two glued layers stay flatter than single sheets.
Should I paint cardboard wall art or leave it natural?
Both work. Plain kraft board looks calm and shows the texture of the material, while one or two accent colors make a grouping feel deliberate. A common approach is to leave most pieces natural and paint only a few, using thin coats so the board does not curl.