Cardboard Weaving: A Woven Wall Panel From Strips
Weave a 9 in wall panel from strips of thin paperboard: how many strips to cut, how to set them up, the over-under sequence, locking the edges with a frame and three pattern variations.
Project at a glance
Materials
- Thin paperboard panels
- Metal ruler and pencil
- Scissors
- Masking tape
- White (PVA) glue
- Acrylic paint (optional)
- Cord for hanging
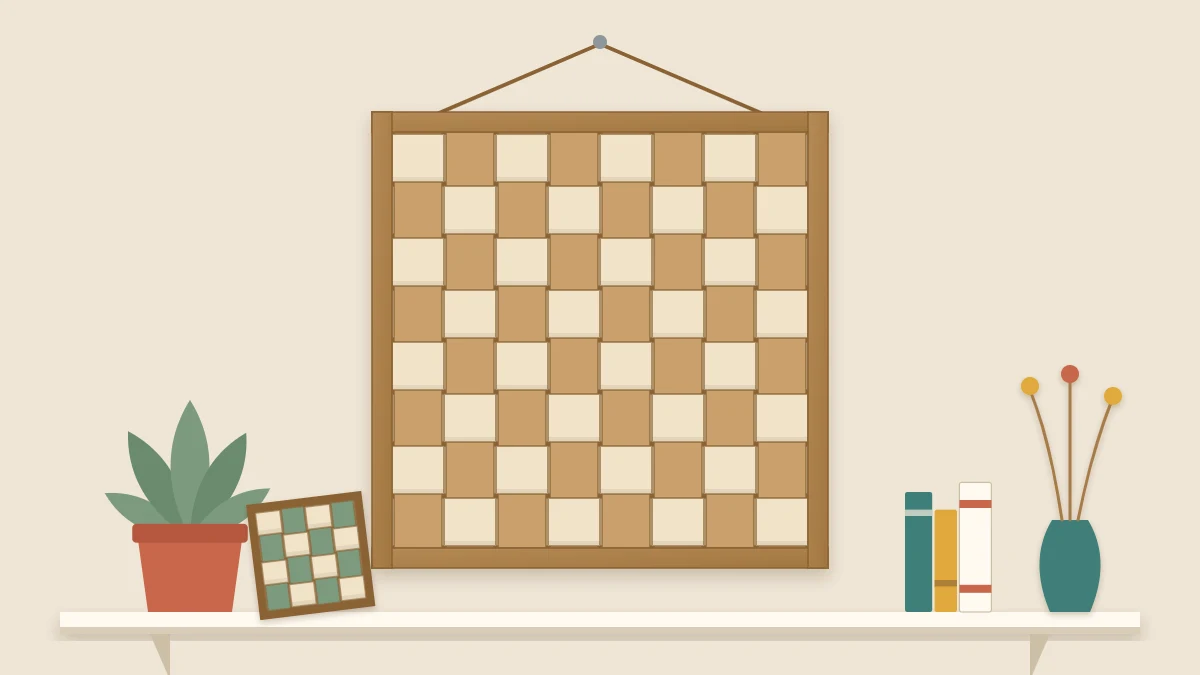
Cardboard weaving turns flat strips of thin board into a panel with real texture: a grid of small squares that catches the light differently along each row. It needs no loom and no special skill, only even strips and a little patience on the first few rows.
This project makes a wall panel about 9 in (23 cm) square from twelve strips in each direction, finished with a narrow frame of the same strips. Once you have woven one, changing the pattern is just a matter of counting differently.
What You Need
- Thin paperboard (cereal-box weight): three panels of about 11 x 7 1/2 in (28 x 19 cm)
- Metal ruler and pencil
- Scissors, or another cutting tool
- Masking tape
- White (PVA) glue and a small brush or toothpick
- Acrylic paint, if you want two colors
- About 10 in (25 cm) of cord for hanging
Cut the Strips
You need 28 strips, each 3/4 in (1.9 cm) wide and 11 in (28 cm) long: 12 vertical, 12 horizontal and 4 for the frame. A panel 7 1/2 in wide gives ten strips, so three panels yield thirty and leave two spare.
Cut with the grain running along the length of the strips. Thin paperboard bends more easily in one direction than the other; strips cut along the stiffer direction lie straight, while strips cut across it tend to curl. Flex a panel gently both ways to feel the difference. The guide to types of cardboard for crafts has more on grain.
If you want two colors, paint whole panels before cutting them, on both faces, and let them dry flat. Painting strips one by one is slow and makes them warp.
Mark the 3/4 in spacing along both short edges of each panel, join the marks with a ruler and cut along the lines. Even width matters more than anything else in this project, so measure from the same long edge every time. For more on straight, repeatable cuts, see the guide on how to cut cardboard cleanly and safely.
Safety note
Scissors are all this project needs. If an adult prefers a craft knife for long straight cuts, use a cutting mat and a metal ruler, make light passes with a sharp blade, keep fingers behind the cutting path and cap the blade when it is put down.
Set Up the Vertical Strips
Rule a straight pencil line on your work surface or on a spare sheet of board. Lay twelve strips side by side below it, long edges touching and top ends on the line. Together they should measure 9 in across. Run one length of masking tape across the top 1/2 in (1.2 cm) of all twelve to hold them in place.
Weave Over and Under
- Take a horizontal strip and pass it over the first vertical strip, under the second, over the third, and so on across the row.
- Center it so about 1 in (2.5 cm) sticks out on each side, then slide it up until it sits about 1 in below the top ends.
- Weave the second strip the opposite way: under the first vertical strip, over the second. Push it up snugly against the first row.
- Keep alternating. After every two or three rows, press the rows upward and nudge the vertical strips back together so no gaps open.
- Stop after twelve rows. The woven area is now about 9 in square, with roughly 1 in of loose ends on every side.
It is quicker to lift every other vertical strip, lay the horizontal strip across and drop them again than to thread each strip through from the side.

Lock the Edges and Add the Frame
A woven panel holds its shape only when the outer crossings are fixed.
- Check that the weave is square, then work around the outside. Lift each loose end slightly, put a small dab of white glue where it crosses the outermost strip and press it down.
- Lay a sheet of scrap paper and a book on top for roughly 20 to 30 minutes.
- Peel off the tape and trim every loose end flush with the outermost strips. The panel is now a clean 9 in square.
- Cut the four frame strips: two at 9 in and two at 7 1/2 in (19 cm).
- Glue the two long strips over the top and bottom rows and the two short ones over the side columns, between the long ones. They cover the trimmed ends and leave a field of ten by ten squares showing.
- Press under the book again and leave overnight.
Pattern Variations
- Checker in two colors. Use one color for all vertical strips and another for all horizontal ones. The plain over-under weave then shows as a board of alternating squares.
- Twill-style steps. Pass each strip over two and under two. On every new row, shift the sequence one strip to the side. The floats line up as diagonal steps across the panel.
- Varied widths. Replace some strips with pairs of narrow ones, 3/8 in (1 cm) wide. Two narrow strips take the place of one wide strip, so the overall size stays the same while the rhythm changes.
Twill has longer floats and a looser hold, so add a few extra dabs of glue under the outer rows.

Hang the Panel
Glue the ends of the cord to the back of the top frame strip, about 2 in (5 cm) in from each corner, and cover each end with a small paper patch. Let it dry overnight before hanging the panel on a small nail. It pairs well with other cardboard wall decorations in the same tones. Keep it on a dry interior wall, since thin board loosens and waves in damp air.
To resize, keep the strip width and change the count: the panel side equals the number of strips times 3/4 in, and each strip is cut 2 in longer than that.
The Other Kind of Cardboard Weaving
The same term is also used for weaving yarn on a cardboard loom. That is a different craft: a rectangle of corrugated board, about 6 x 8 in (15 x 20 cm), gets a row of short notches 1/4 in (6 mm) apart along both short edges. Warp thread is wound back and forth through the notches, and yarn is woven across it with a blunt needle. The cardboard is only the tool there; in the panel above, it is the fabric itself.
Frequently asked questions
What cardboard is best for weaving strips?
Thin paperboard from cereal-style boxes is the easiest to weave because it bends without cracking and cuts cleanly with scissors. Corrugated board is too thick to pass over and under at this scale, and its flutes crush at every crossing, so save it for the backing or for spacers.
Why does my woven panel come out crooked?
Uneven strip width is the usual cause, followed by rows that were not pushed up tightly. Measure every strip from the same edge, tape the vertical strips against a ruled line, and square up the weave every few rows before any glue goes on. Once glued, it cannot be adjusted.
Do I need to glue every crossing?
No. Gluing only the crossings around the outer edge is enough for a plain over-under weave, because the frame strips then hold everything in place. Patterns with longer floats, such as twill, benefit from a few extra dabs of glue in the second row in from each edge.