How to Make a Cardboard Picture Frame That Stands or Hangs
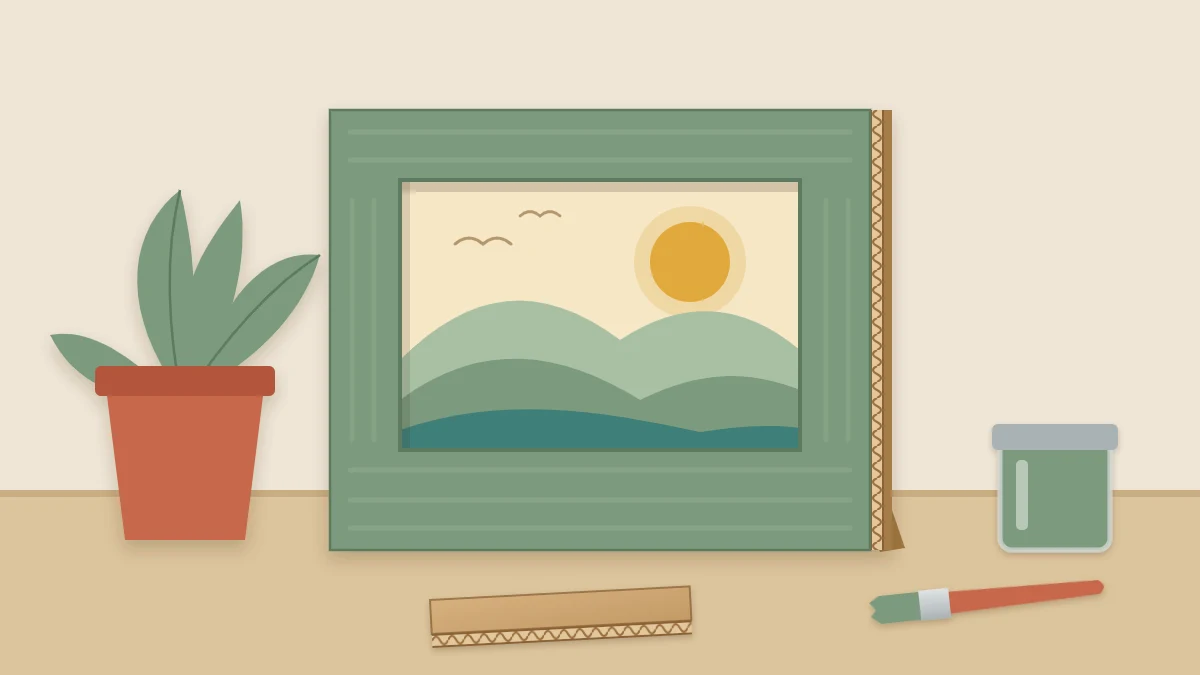
Build a three-layer frame for a 4 x 6 in print: a front with a window, a spacer that forms a slide-in pocket and a solid back, plus a folded easel stand or a hanging loop.
Project at a glance
Materials
- Corrugated cardboard or chipboard
- Thin paperboard for the spacer
- Metal ruler and pencil
- Craft knife and cutting mat, or scissors
- White (PVA) glue
- Acrylic paint or decorative paper
- Twine for a hanging loop
A cardboard picture frame is three flat layers glued into a sandwich: a front with a window, a thin spacer that leaves a pocket, and a solid back. The print slides in from the top, so you can swap it whenever you like.
The measurements below fit a 4 x 6 in (10 x 15 cm) print held upright. The finished frame is 6 x 8 in (15 x 20 cm) and can stand on a folded easel or hang from a loop. You draw every part yourself with a ruler.
What You Need
- Single-wall corrugated cardboard or chipboard for the front and back
- Thin paperboard (cereal-box weight) for the spacer
- Metal ruler, pencil and a cutting tool
- White (PVA) glue and a few heavy books
- Paint or decorative paper for the front
- A short piece of twine, if the frame will hang
Cutting List
| Part | Board | Size | Notes |
|---|---|---|---|
| Front | Corrugated or chipboard | 6 x 8 in | Window cut from the middle |
| Spacer | Thin paperboard | 6 x 8 in | Trimmed to a U shape |
| Back | Corrugated or chipboard | 6 x 8 in | Thumb notch at the top |
| Easel strip | Corrugated | 2 x 13 1/2 in (5 x 34 cm) | Standing frames only |
The spacer has to be at least as thick as the print. For a print mounted on card, glue two spacer layers together.
Mark and Cut the Window
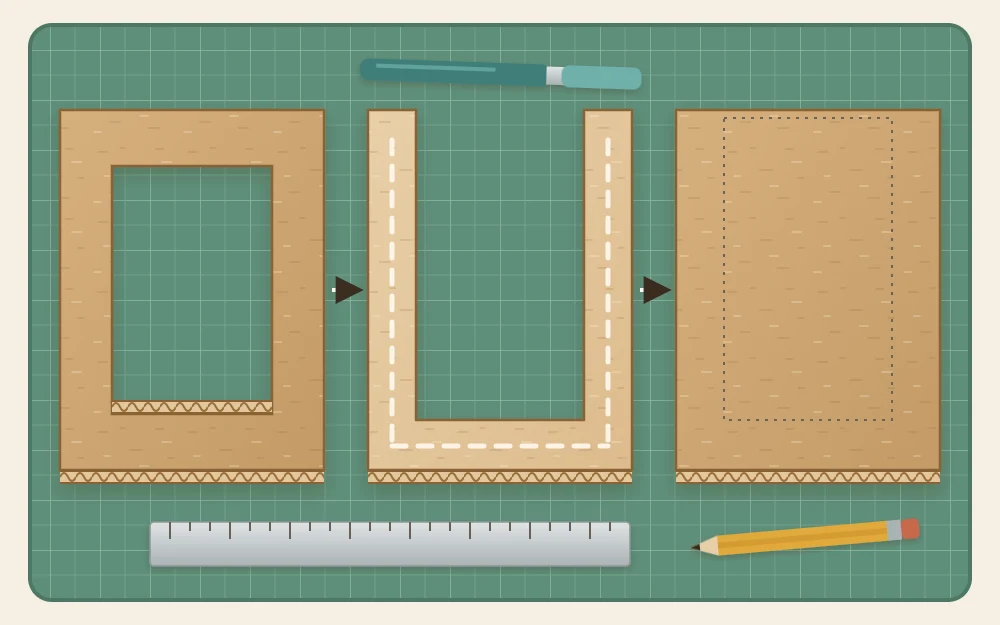
On the front panel, draw a line 1 1/4 in (3.2 cm) in from every edge. The rectangle in the middle measures 3 1/2 x 5 1/2 in (9 x 14 cm). That is 1/2 in (1.2 cm) smaller than the print in each direction, so the window overlaps the print by 1/4 in (6 mm) on all four sides and hides its edges.
Cut the rectangle out, working from each corner toward the middle of the side so the corners stay sharp. The guide to cutting an inside window cleanly covers the method in detail.
Safety note
Cutting a window in corrugated board with a craft knife is a job for an adult. Work on a cutting mat with a metal ruler, make several light passes with a sharp blade, keep fingers behind the cutting path, cut away from your body, and cap the blade when you put it down.
There is also a scissors-only version. Build the whole frame from thin paperboard and make the front from four strips instead of cutting a window: two strips of 6 x 1 1/4 in for the top and bottom, and two of 1 1/4 x 5 1/2 in for the sides. Glued onto the spacer, they leave the same opening.
Shape the Spacer and the Back
On the spacer, draw a line 7/8 in (2.2 cm) in from each long edge and a line 1 in (2.5 cm) up from the bottom edge. Cut away everything between the two long lines and above the bottom line. What remains is a U with an opening 4 1/4 in (10.8 cm) wide: the width of the print plus 1/8 in (3 mm) of clearance on each side.
The print will rest on the bottom bar of the U, 1/4 in below the lower edge of the window, and its top will sit 1 in below the top of the frame. To reach it, cut a thumb notch in the back panel: 1 in wide and 1 1/4 in deep, centered on the top edge.
Decorate the Front, Then Glue the Layers
Finish the front before assembly, while it still lies flat and no print is at risk. Thin coats matter here, because a wet front panel curls; the guide to painting and covering cardboard without warping explains how to keep it flat.
- Dry fit the three layers and slide a print in to check the fit.
- Spread a thin, even coat of white glue on the spacer and press it onto the back, outer edges lined up. Keep glue slightly away from the inner edges so none squeezes into the pocket.
- Glue the front onto the spacer the same way, with the notch in the back at the top.
- Press the stack under books. It is firm enough to handle after roughly 20 to 30 minutes and reaches full strength after several hours or overnight.
Make the Easel Stand
Cut the easel strip with the flutes running along its length so the panels stay stiff. Measuring from one end, mark across it at 5 in (12.5 cm), 7 1/2 in (19 cm) and 12 1/2 in (31.5 cm). Score the three lines and fold them all the same way. You now have two 5 in panels, a 2 1/2 in (6.5 cm) foot between them and a 1 in glue tab.
- Glue the first 5 in panel flat to the back of the frame, centered, with its scored end level with the bottom edge.
- Fold the foot straight out behind the frame, then bring the second 5 in panel up to meet the top of the first.
- Glue the tab flat to the back, just above the first panel, and hold it for a minute or two.
The strip forms a narrow triangle, and the frame leans back at about 75 degrees.

Or Add a Hanging Loop
A frame meant for the wall does not need the easel; leave it off so the back lies flat. Fold a 4 in (10 cm) piece of twine into a loop and glue both ends to the back about 2 in (5 cm) below the top edge, centered under the notch. Cover the ends with a 1 x 2 in patch of thin paperboard.
The top of the loop sits in the notch, where a small nail or hook can catch it without showing. A frame this light suits a grouping with other lightweight cardboard wall pieces.
Adjust for Other Print Sizes
Four rules resize the frame for any print:
- Outer size: print width plus 2 in, print height plus 2 in.
- Window: print width minus 1/2 in, print height minus 1/2 in, centered. The border stays 1 1/4 in wide.
- Spacer: opening equal to the print width plus 1/4 in, with a 1 in bottom bar. The side arms stay 7/8 in wide.
- Easel: long panels about five-eighths of the frame height, foot half as long as a panel.
A 5 x 7 in (13 x 18 cm) print, for example, needs 7 x 9 in panels, a 4 1/2 x 6 1/2 in window and a spacer opening 5 1/4 in wide. Above roughly 8 x 10 in, double the back panel so the frame stays flat.
Frequently asked questions
What kind of cardboard is best for a picture frame?
Single-wall corrugated or chipboard gives a front and back that stay flat, while thin paperboard from a cereal-style box works well for the spacer. A frame made entirely from thin paperboard is possible too, and can be cut with scissors, but it helps to double the back so it does not bow.
How do I change the picture later?
The spacer is a U shape that leaves a pocket open at the top. Reach into the thumb notch on the back, pinch the top of the print and slide it out, then slide the new one in. Nothing needs to be unglued as long as glue was kept out of the pocket.
Can I put glass or plastic in a cardboard frame?
Glass is too heavy and has sharp edges, so leave it out. A sheet of thin clear plastic cut to the print size can slide into the pocket in front of the print if the spacer is doubled to make room. Most prints look fine with no cover at all.