How to Paint and Cover Cardboard Without Warping
Why cardboard curls when it gets wet and how to stop it: seal first, paint thin coats on both faces, dry under a weight, or cover the panel with paper or fabric instead.
Project at a glance
Materials
- Water-based primer or white (PVA) glue
- Acrylic paint
- Flat brush or small foam roller
- Decorative paper or thin fabric and a glue stick
- Scissors
- Scrap paper and heavy books for drying flat
- Water-based sealer (optional)
Cardboard takes color beautifully, but it punishes heavy, wet coats by curling like a dry leaf. The good news is that warping is predictable, and once you understand how to paint cardboard with that in mind, a flat, even finish is easy to repeat.
The same thinking applies when you cover a panel with paper or fabric instead of paint. In both cases the goal is to add as little moisture as possible, add it evenly, and keep the piece flat while it dries.
Why cardboard warps when it gets wet
Cardboard is layers of paper, and paper fibers swell when they absorb water. Paint one face and that face grows slightly while the dry face stays the same size, so the panel bows. As the paint dries the film shrinks and pulls the panel the other way. Thin board and large flat panels show it most.
Three habits prevent nearly all of it: seal the surface before painting, keep every coat thin, and treat both faces alike so the pull is balanced.
Prepare the surface
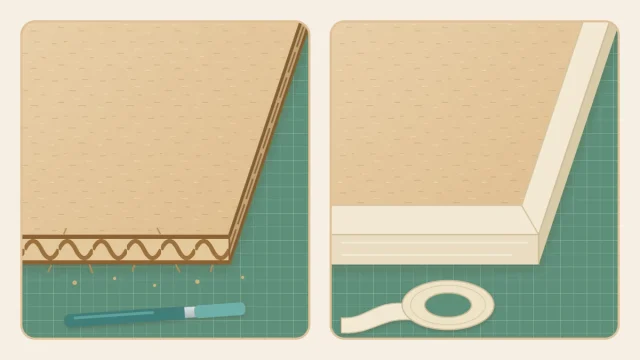
Finish any shaping first. Peel off plastic tape and labels, since paint will not stick to them, and wipe away dust. Decide now what to do about exposed corrugation, because some treatments go on before paint and some after. The guide to clean cardboard edges sets out the choices.
Protect the table with scrap paper, and work in a room with some air movement so coats dry at a steady pace.
Seal or prime first
Bare kraft cardboard is thirsty. It drinks the first coat of paint, dulls the color and takes in the most water at exactly the wrong moment. A sealing coat fills the surface so later coats sit on top.
You have two simple options. A water-based primer in white gives the truest, brightest color over brown board. White glue thinned with a little water, roughly three parts glue to one part water, dries clear and works well under darker colors or where you want the kraft tone to show through.
- Load a flat brush lightly and wipe the excess on the rim of the jar.
- Brush a thin, even coat over the front face, working in one direction.
- Let it dry to the touch, usually about 20 to 30 minutes, then coat the back in the same way.
- If the surface feels rough once dry, smooth it with a few light strokes of fine sandpaper over scrap paper.

Apply thin coats of acrylic paint
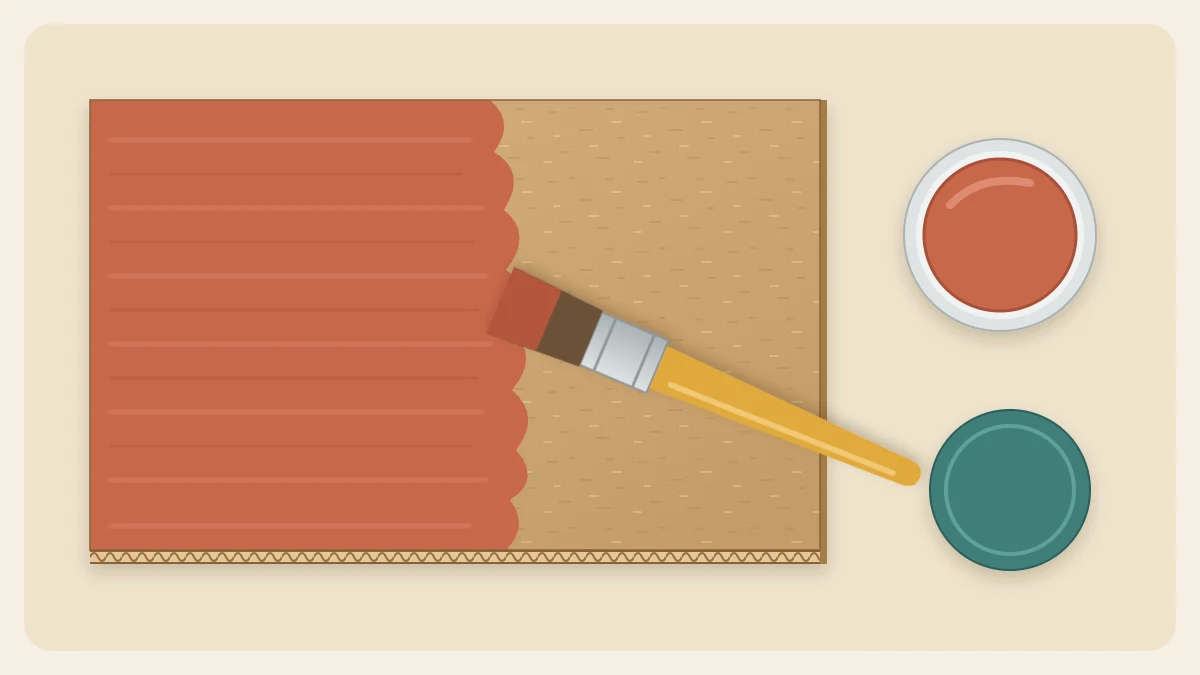
Acrylic paint suits cardboard well. It covers in thin layers, dries quickly and stays slightly flexible. Use it straight from the tube or jar, or thinned with only a few drops of water. Watery paint is the fastest route to a warped panel.
- Brush the first coat in one direction and do not go back over areas that have started to set.
- Wait until it is dry to the touch, roughly 20 to 30 minutes, before the next coat.
- Brush the second coat at right angles to the first to even out the brush marks.
- Expect two or three thin coats for solid color. Light colors over bare brown board may need one more.
- For large flat areas, a small foam roller lays down a thinner, more even film than a brush.
Tip
Paint parts while they are still flat whenever the design allows, then assemble. Flat panels can be weighted while they dry, and you avoid pushing a brush into inside corners.
Balance both faces and dry flat
Whatever goes on the front should go on the back, even when the back will never be seen. A single coat of primer or thinned glue on the hidden face is usually enough to balance two coats of color on the front.
When the last coat is dry to the touch, lay the panel on a clean flat surface, cover it with a sheet of baking parchment or plain scrap paper, and place a few heavy books on top. Leave it for several hours or overnight. If the paint still feels cool or tacky, it is not ready to be weighted.
A panel that has already curled can often be coaxed back. Brush a thin coat on the hollow side, let it lose its wet shine and then dry it under weight.
Cover with paper or fabric instead
A covering hides the corrugated texture completely and adds almost no moisture. Paper is the easier material. Thin cotton fabric also works, with a slightly thicker glue coat.
- Cut the covering about 3/4 in (2 cm) larger than the panel on every side, using scissors.
- Coat the cardboard, not the paper, with glue stick or with white glue brushed out very thin. Wet paper stretches and wrinkles, so the glue goes on the stiffer surface.
- Lay the panel glue side down on the back of the paper, then turn both over.
- Smooth from the center outward with the flat of your hand or a clean, dry cloth, pushing air toward the edges.
- Trim each corner of the paper at an angle, leaving a gap about equal to the thickness of the board between the cut and the corner of the panel.
- Glue the margins, fold them over one side at a time and press each one down firmly, tucking the corners in neatly.

Choosing between glue stick and white glue comes down to grab and strength, which the guide on how to glue cardboard compares in a table. A covered panel benefits from drying under weight in the same way a painted one does.
Add an optional sealer
A water-based sealer in a matte or satin finish gives painted or paper-covered cardboard a more even sheen and makes it easier to dust. Brush on one or two thin coats, letting each dry, and coat the back as well.
A sealer helps the surface resist fingerprints and the occasional splash, but the board underneath is still paper. Keep finished pieces indoors, in dry rooms, and away from sinks and steam.
Try it on a small project
Flat panels with visible faces are the best practice pieces, because you can see straight away whether the surface has stayed level. The cardboard picture frame is a good candidate: its front can be painted or covered in paper, and it is small enough to dry under a single book.
Frequently asked questions
Do I need to prime cardboard before painting it?
It is not essential, but it helps a great deal. Unsealed board soaks up the first coat, which wastes paint, mutes the color and puts the most water into the paper. One thin coat of water-based primer or thinned white glue gives later coats a sealed surface to sit on.
What kind of paint works best on cardboard?
Acrylic paint is the most practical choice. It covers well in thin layers, dries in well under an hour and remains slightly flexible, so it is less likely to crack at folds. Very watery paints, including heavily thinned acrylic, soak in and cause much more curling.
How do I flatten cardboard that has already warped?
Brush a thin coat of paint, primer or thinned white glue on the hollow side so both faces carry a similar layer. Let it lose its wet shine, cover it with clean paper and leave it under heavy books for several hours or overnight. Most mild curls settle this way.