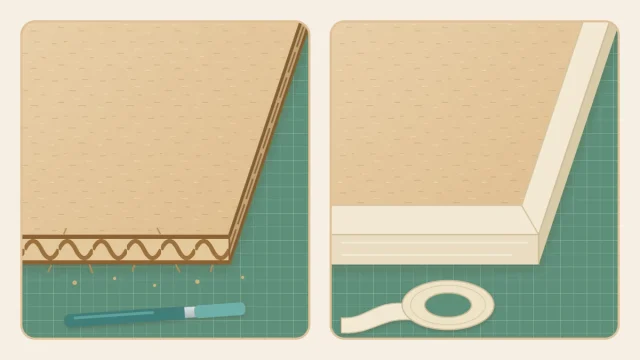
How to Strengthen Cardboard for Sturdy Projects
Stop shelves sagging and walls bulging with crossed laminated layers, doubled bases, ribs, corner gussets, folded rims and a paper-and-glue skin, with honest limits on what cardboard should carry.
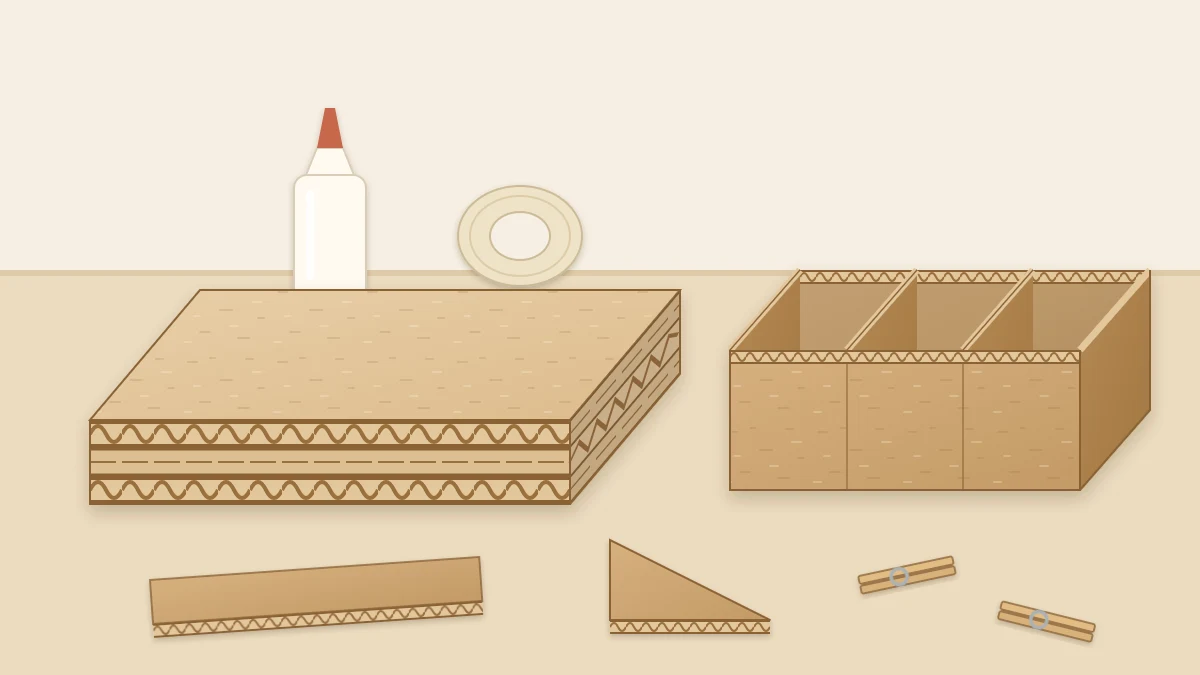
A shelf that dips in the middle or a box wall that bulges is not a sign that cardboard is the wrong material. It usually means the board is being asked to work in its weak direction, or that a flat panel has nothing to stop it from bending. Once you see how to strengthen cardboard through layering and shape, the same recycled sheets can become surprisingly rigid.
None of the methods here need special supplies, and most can be added to a project that is already built.
Why cardboard bends where it does
Corrugated cardboard is two flat liners with a wavy layer of flutes between them. That sandwich is stiff along the flutes and much weaker across them, in the same way a sheet of ribbed roofing bends easily one way and hardly at all the other. The article on corrugated fiberboard explains the construction in more depth.
So the first check costs nothing: look at the cut edge and find the flute direction. A shelf or a long wall should have its flutes running along the span, from support to support. If a part is sagging and the flutes run the short way, recutting it with the grain turned may be all it needs. Starting with a heavier board helps too, and the guide to types of cardboard for crafts compares single-wall, double-wall and chipboard.
Laminate layers with the flutes crossed
Gluing two sheets face to face is the most effective upgrade. Turn the second sheet so its flutes run at right angles to the first, and each layer covers the weak direction of the other. The result resists bending both ways, a little like plywood.
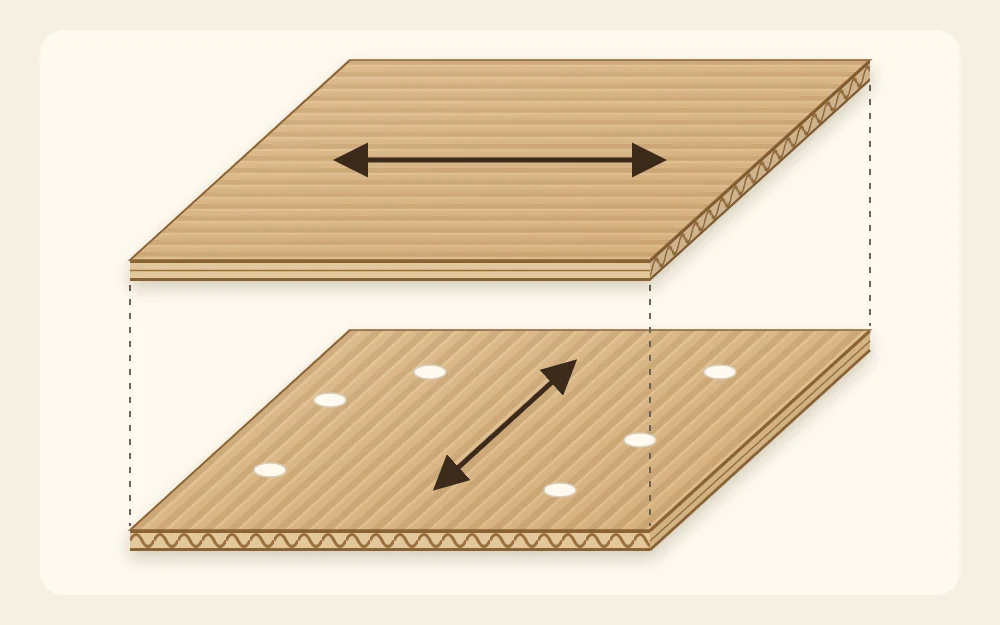
- Cut both pieces slightly oversize, one with the flutes running lengthwise and one with them running across.
- Spread a thin, even film of white glue over the whole face of one piece, right out to the edges.
- Lay the second piece on top, press from the center outward and check that the edges are roughly aligned.
- Cover with scrap paper and weight the stack with heavy books on a flat table.
- Leave it for several hours or overnight, then trim the panel to its final size.
Three layers, with the middle one crossed, make a panel roughly 3/8 in (1 cm) thick from single-wall board. Coverage and pressure matter more than the amount of glue, and the guide on how to glue cardboard goes through spreading and clamping in detail.
Double the walls and bases
You do not have to laminate a whole project. Stiffen only the parts that carry the contents or get handled.
- Base. Cut a second panel to fit snugly inside the bottom and glue it down. It stiffens the floor and hides the tabs.
- Walls. Glue a liner panel inside each long wall, with its flutes crossed against the outer wall.
- Handle areas. Add an extra patch around any cutout that hands will pull on, since openings are where panels tear first.
Add ribs and internal braces
A flat sheet bends easily, but a strip standing on its edge is very hard to bend. Ribs use that fact. Cut strips about 1 in (2.5 cm) wide, with the flutes running along their length, and glue them on edge under a shelf or across the inside of a wide base. Space them every 3 to 4 in (8 to 10 cm).
Because a strip on edge has little area to glue, fix each rib with a narrow strip of paper tape along both sides, or fold the rib into an L or a square tube so it has a flat foot. Folded tubes and triangular beams are light, quick to make and excellent for supporting a shelf from below.
Inside a box, dividers act as braces. A single partition glued across the middle ties the two long walls together and stops them from bowing outward.
Brace corners with gussets and triangles
A rectangle can be pushed into a slanted parallelogram, but a triangle cannot change shape without something breaking. That is why a small triangle in a corner does so much.
Cut right-angled triangles with two sides of about 2 in (5 cm) and glue them flat into the corners where a shelf meets a side, or where a back panel meets the base. For open frames, a diagonal strip across the back works in the same way.
Fold a rim along open edges
The top edge of an open box or tray is its floppiest part, because nothing holds it straight. A folded rim fixes that. When you draw the net, add an extra 3/4 in (2 cm) to the height of each wall, score along that line, fold the strip to the inside and glue it down.
The doubled edge is stiffer, more comfortable to hold and has a smooth fold on top in place of an exposed cut. For a rim that is stiffer still, glue a narrow strip between the two layers before folding.
Add a paper-and-glue skin
A skin of paper strips, in the manner of papier-mache, ties all the parts of a project together and stiffens the surface. Tear plain paper into strips about 1 in wide, brush them with white glue thinned with a little water, and lay them over the joints and across the faces, overlapping slightly.
Apply one layer, let it dry and then decide whether a second is needed. Go lightly: the skin is wet, and too much at once will soften the board underneath.
Seal against humidity and know the limits
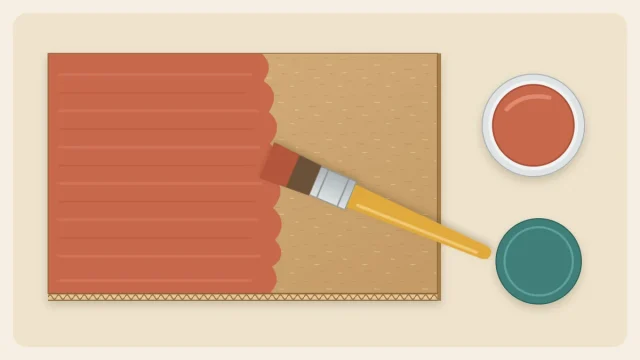
Damp air softens cardboard, and a soft panel sags under contents it carried easily when dry. One or two thin coats of water-based sealer or acrylic paint on every face, edges included, slow down how quickly the board takes up moisture. They do not make it immune to water, so keep projects in dry rooms and off floors that get mopped.
It is also worth being realistic. Reinforced cardboard is well suited to light, dry household items such as yarn, stationery, paperbacks, toys and linens. It is not a substitute for wood or metal, and it should not be used for anything to sit or stand on, or for heavy or fragile things stored overhead. Test a finished piece gently with its intended contents before relying on it.
To see several of these ideas working together, the sturdy cardboard storage box with handles combines doubled walls, a folded rim and reinforced handle cutouts in one build.
Frequently asked questions
Does gluing two pieces of cardboard together make it stronger?
Yes, noticeably, and more so when the flutes of the second layer run at right angles to the first. Each sheet is stiff in one direction only, so crossing them covers both. Spread the glue thinly over the whole face and dry the panel flat under weight so it stays level.
How do I stop a cardboard shelf from sagging?
First make sure the flutes run along the span between the supports. Then laminate a second layer underneath with its flutes crossed, or glue folded ribs beneath the shelf. Shortening the span with a divider underneath also helps. Keep the contents light, since reinforced cardboard still suits small household items only.
Can sealing or painting cardboard make it stronger?
A little. Paint or water-based sealer stiffens the surface slightly, and more usefully it slows the absorption of moisture from humid air, which is what makes board go soft over time. It will not turn a thin panel into a rigid one. For real stiffness, add layers, ribs or bracing first.