Clean Cardboard Edges: 6 Ways to Hide the Corrugation
Six edge finishes compared by effort and look: paper tape binding, glued paper strips, folded flaps, light sanding, filler with paint and decorative trim, plus how to handle corners.
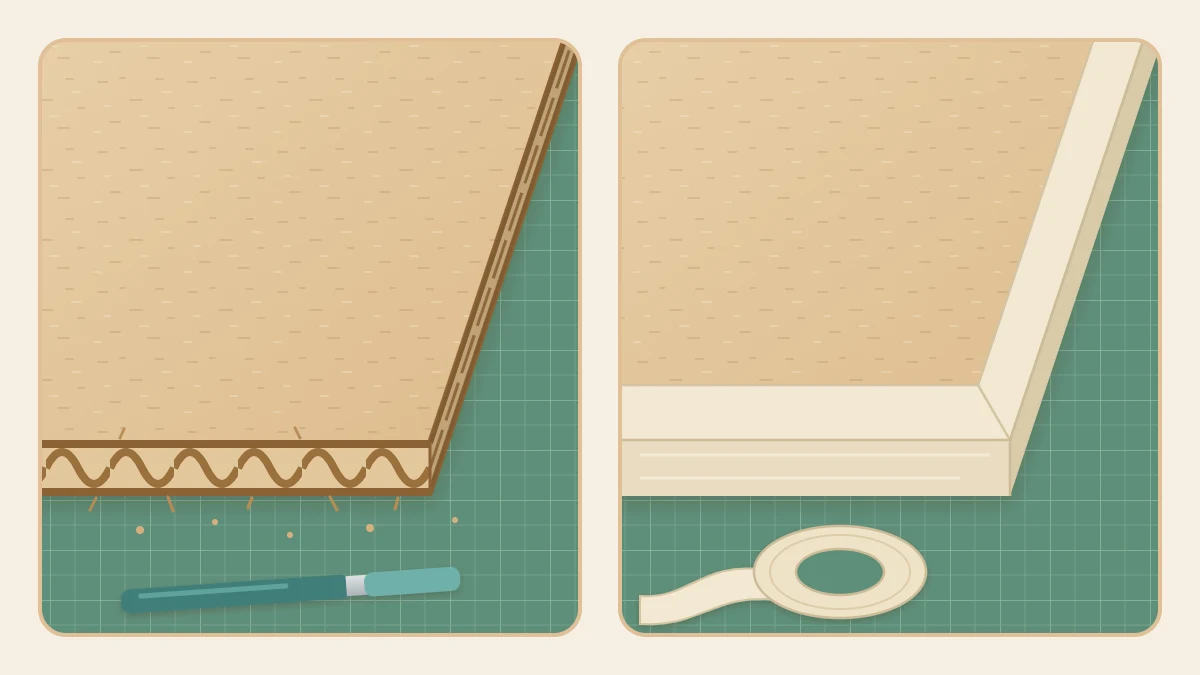
A project can be measured, folded and glued perfectly and still look unfinished, simply because the wavy core shows along every cut. Getting clean cardboard edges is the step that changes a piece from recognizable packaging into something that looks deliberately made.
There is no single best finish. Six methods are compared below, from a strip of tape that takes a minute to a filled and painted edge that takes an evening. Choose by how visible the edge is, how much it will be handled and how much time the project deserves.
Start with a tidy cut
Every finish looks better over a straight, uncrushed edge. Tape and paper strips follow whatever is underneath, so a ragged cut gives a lumpy binding. If your edges are torn or squashed, the remedy is in the cutting itself, and the guide to cutting cardboard cleanly and safely covers tools and technique.
Brush away loose fibers and dust before you begin, since both keep tape and glue from gripping.
The six finishes at a glance
| Finish | Effort | Look | Best for |
|---|---|---|---|
| Paper tape binding | Low | Neat, slightly raised band | Boxes, trays, everyday pieces |
| Glued paper strip | Low to medium | Flat, any color or pattern | Decor and gift projects |
| Folded flap | Planned into the net | Smooth, rounded fold | Rims of boxes and trays |
| Light sanding | Low | Even but still corrugated | Models, layered work |
| Filler and paint | High | Solid, seamless | Painted display pieces |
| Decorative trim | Low | A feature in itself | Frames, gift boxes, decor |
Bind or cover the edge with paper
1. Paper tape binding
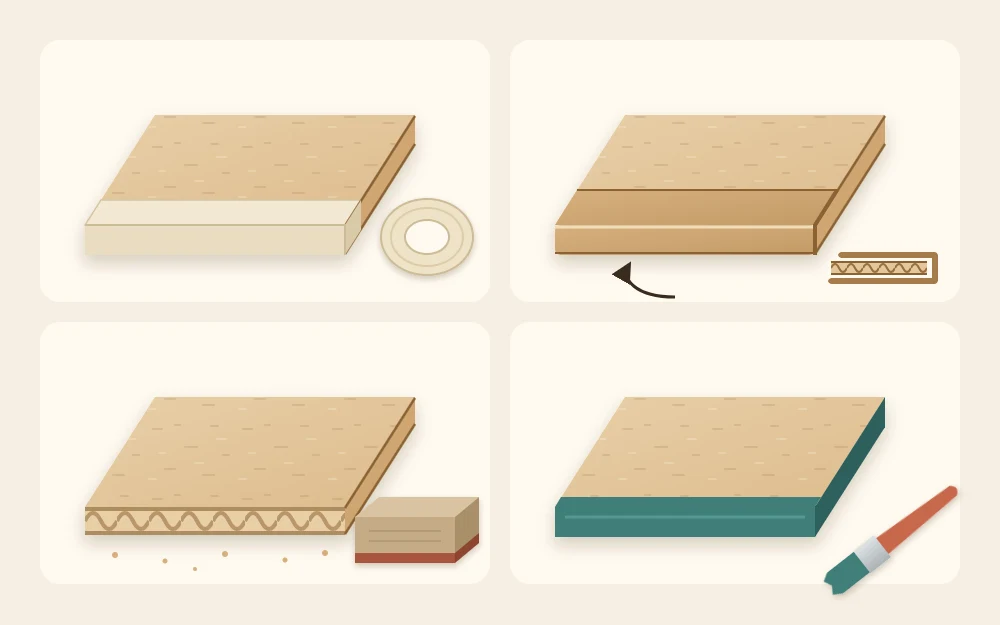
Paper tape, either gummed or self-adhesive, is the quickest way to hide corrugation, and it takes paint well. Choose a tape about 1 in (2.5 cm) wide for single-wall board.
- Cut a length slightly longer than the edge, using scissors.
- Lay the tape along one face so half its width hangs past the edge.
- Press it down, then roll the overhang over the edge and onto the other face.
- Rub along the edge with a fingernail or the back of a spoon so the tape hugs both corners of the board.
Masking tape works in the same way for pieces that will be painted, although it is less durable left bare.
2. Glued paper strip
For a flatter band in a color of your choosing, cut strips of plain or decorative paper about 3/4 in (2 cm) wide. Brush a thin coat of white glue along the edge and a little way onto both faces, center the strip on the edge and fold it down each side. Smooth it from the middle toward the ends. Thin paper molds around the edge more willingly than thick paper, which tends to spring back.
3. Folded flap
The neatest edge is one that was never cut. When you draw a net, extend the wall by about 3/4 in, score along the line, and fold the extra strip over to the inside and glue it down. The top of the wall becomes a smooth fold with no corrugation in sight. It has to be planned before cutting, so it suits rims and openings, the edges people see and touch most.
Smooth and fill the edge
4. Light sanding
Sanding does not hide the flutes, but it levels the tiny burrs and steps that make a cut look rough. Wrap fine sandpaper around a small flat block, hold it square to the edge and make a few light strokes in one direction, along the edge and not across it. Work over scrap paper so the dust is easy to fold up and throw away.
Press gently. Heavy sanding tears the liners and leaves the edge fuzzier than before. This is the finish to use when the layers are meant to be seen, as in layered cardboard art, where even, exposed edges are part of the look.
5. Filler, then paint
To make an edge look solid, fill the flute channels. Use a lightweight, water-based wall filler and press a thin layer into the edge with a scrap of card or a fingertip, scraping off the excess as you go. Let it dry fully, which takes roughly an hour for a thin layer, then sand lightly and paint.
Two thin applications are better than one thick one, which shrinks and cracks. This is the slowest method, so save it for display pieces where the edge is at eye level.
Add decorative trim
6. Trim as a feature
Instead of hiding the edge, make it a detail. Narrow ribbon, twine, cotton tape or a strip of fabric glued along the edge gives a soft, finished border. Run a thin line of tacky glue along the edge, lay the trim into it and hold it with clothespins at the ends until it grips.
Start and finish the trim at the least visible point, usually the back or the bottom, and cut the ends cleanly so they meet without overlapping.
Handle the corners
Corners are where edge finishes usually give themselves away. For tape and paper strips on an outside corner, bind one edge fully and trim it flush at the corner, then bind the next edge so it overlaps the end of the first. Fold the second strip’s end at a diagonal, like the corner of a wrapped parcel, for the neatest result.
On a continuous run around a box rim, snip a small V out of the overhanging part of the tape at each corner so it folds down without bunching. On inside corners, cut a single slit in the overhang and let the two halves overlap.
Tip
Practice a corner on an offcut before working on the real piece. One trial shows you how much tape to leave and where to snip.
Edges before or after painting?
The order depends on whether the edge should match the faces or contrast with them.
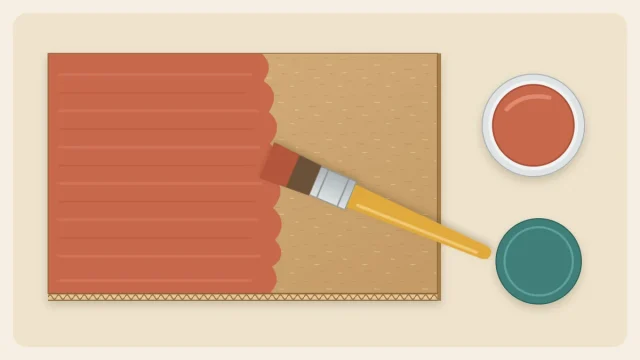
- To match: bind, fill or sand the edges first, then prime and paint everything together so the tape or filler disappears under the color.
- To contrast: paint the faces first, let them dry fully, then add a colored paper strip or trim as the final step.
- Folded flaps: these are part of the structure, so they are finished before any paint goes on.
Raw edges soak up more paint than the faces do, so give them a sealing coat first. The guide on how to paint cardboard without warping explains priming and thin coats.
Frequently asked questions
What is the easiest way to cover corrugated cardboard edges?
Paper tape folded over the edge is the fastest and needs no drying time. Center a strip along the edge, press it onto one face, roll it over to the other and rub it down. It can stay as it is for a plain kraft look or be painted along with the piece.
Can I sand cardboard edges smooth?
You can even them out, but sanding will not close the open channels. Use fine sandpaper on a flat block with a few gentle strokes along the edge. Pressing hard shreds the paper. If you want a solid-looking edge, follow the sanding with filler or a paper strip.
Should I finish the edges before or after assembling a project?
Finish edges that will be hard to reach, such as the inside rims of small compartments, while the parts are still flat. Edges on the outside of a piece are easier to bind after assembly, because one continuous strip can run around several corners and help tie them together.