How to Make a Cardboard Magazine Holder From a Shipping Box
Cut an upright magazine holder from a narrow shipping box: where to mark the angled cut, how to reinforce the base and front lip, and how to bind and cover it for a matching set.
Project at a glance
Materials
- Narrow shipping box
- Metal ruler and pencil
- Craft knife or safety cutter and cutting mat
- White (PVA) glue
- Paper tape
- Decorative paper or acrylic paint
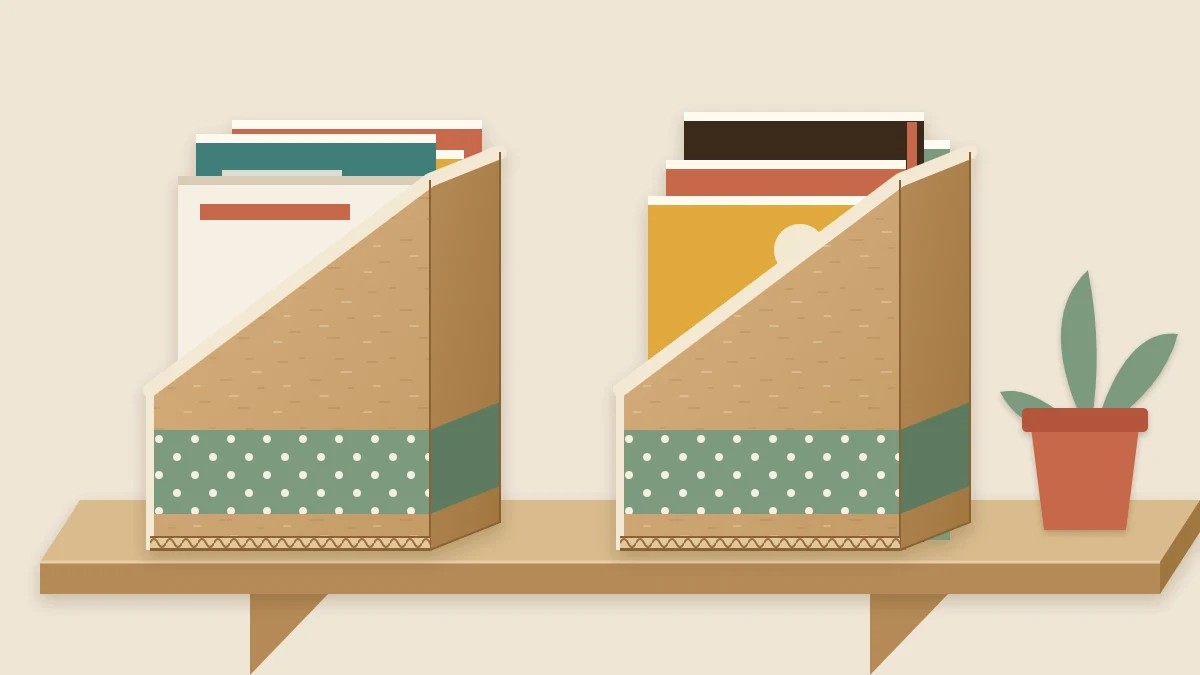
Magazines, workbooks and paper files slump when they are stacked upright on an open shelf, and a flat pile buries whatever is at the bottom. An upright holder with a tall back and a low front keeps them standing and lets you see every spine.
A cardboard magazine holder is one of the quickest useful things to make from a shipping box, because the box already supplies the base and all four walls. The work is one sloped cut on each side, a little reinforcement and a neat finish.
Choose the right box
Look for a clean, dry single-wall corrugated box that stands on a narrow base:
- Width: about 4 in (10 cm). Narrower than 3 in (7.5 cm) tips over easily; much wider and the contents lean.
- Depth, front to back: 9 to 10 in (23 to 25.5 cm), enough for a standard magazine.
- Height: at least 12 in (30.5 cm).
The worked example uses a box with a base of 10 x 4 in and a finished height of 12 in. Glue the bottom flaps shut with white (PVA) glue, cover the seam with paper tape and peel off any plastic tape or labels.
If the box is taller than 12 in, mark a level line 12 in above the base all the way around and trim the top off there. If it is exactly the right height, just cut off the top flaps along their creases.
Mark the angled cut
The shape has three features: a back wall at full height, a low front lip, and two sides that slope from one to the other. All marks are measured up from the base, never down from the top, because the base is the one edge you know is straight.
- Decide which narrow wall is the front. On it, measure 5 in (12.5 cm) up from the base at both corners and join the marks with a level line. This is the top of the front lip.
- On one side wall, lay a ruler from the top back corner to the 5 in mark at the front corner and draw the diagonal.
- Repeat on the other side wall.
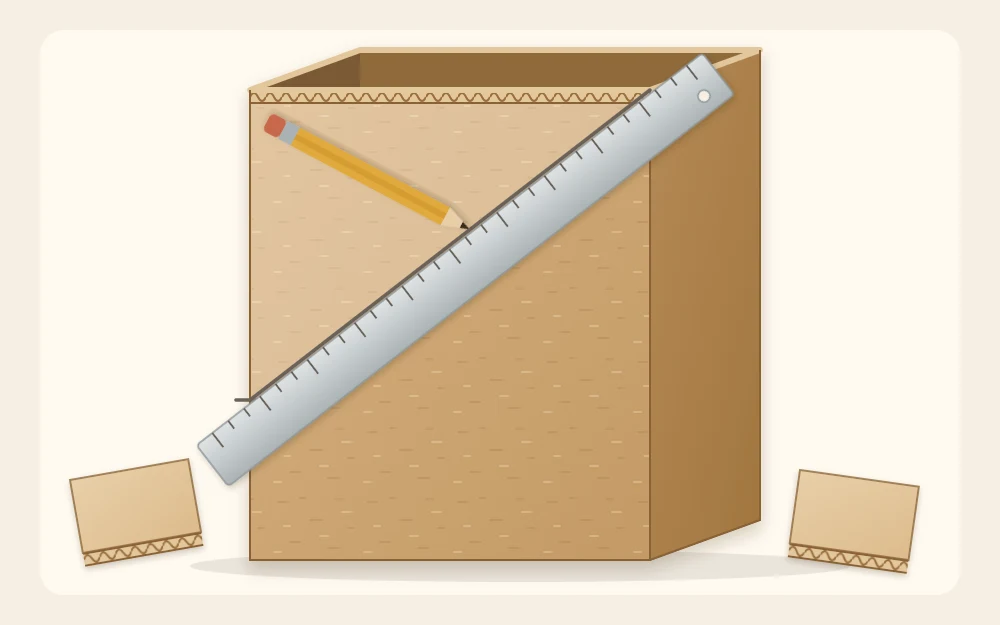
In the example, the slope drops 7 in (18 cm) over the 10 in depth: 12 in at the back less 5 in at the front. A lower lip of 4 in shows more of each cover; a higher one of 6 in holds thin, floppy papers more firmly.
Cut both sides to match
Cut the front wall straight across at the lip line, then cut down each diagonal. For how to keep a long cut straight, see the guide to cutting cardboard cleanly and safely.
Safety note
Cutting an assembled box with a craft knife is a job for an adult. Put a cutting mat or thick scrap inside the box behind the wall you are cutting, guide the blade with a metal ruler and make several light passes. Keep your free hand behind the cutting path and cut away from your body. Cap or retract the blade when you put it down. A safety cutter with a shielded blade or strong scissors will also follow these lines.
Stand the cut holder on a table and look at it from the front. If one slope sits higher than the other, trim it to match. Keep one triangular offcut as a marking guide for further holders.
Reinforce the base and the front lip
The base carries the contents and the lip gets pushed every time something slides in, so both get a second layer.
- Base panel: measure the inside floor and cut a panel to fit. For a 10 x 4 in box of board 1/8 in (3 mm) thick, that is close to 9 3/4 x 3 3/4 in (24.8 x 9.5 cm). Turn it so its flutes cross those of the box floor, then glue it down.
- Lip panel: cut a panel as wide as the inside of the box and as tall as the distance from the new floor to the top of the lip. In the example that is 3 3/4 in wide and about 4 3/4 in (12 cm) tall, but measure yours, since box floors vary in thickness. Glue it to the inside of the front wall with its top edge flush.
Test each panel dry before gluing. Weigh down the base panel and clip the lip panel for roughly 20 to 30 minutes, then leave the holder for several hours before filling it.
Bind the cut edges with paper tape
The sloped edges and the lip show raw corrugation. Paper tape about 1 in (2.5 cm) wide covers them and stops the liner from peeling.
Center a length of tape over the edge so half lies on the outside, fold the other half to the inside and press it down. At each corner, snip the tape to the edge of the board so it turns without wrinkling. Bind the lip first, then the two slopes, then the top of the back wall.
Cover the outside
A band of patterned paper around the lower part is the fastest finish. For the example, cut a strip 5 in tall and 28 1/2 in (72.5 cm) long: the distance around the box is 10 + 4 + 10 + 4 in, or 28 in, plus 1/2 in (12 mm) of overlap. Start and finish the strip at a back corner.
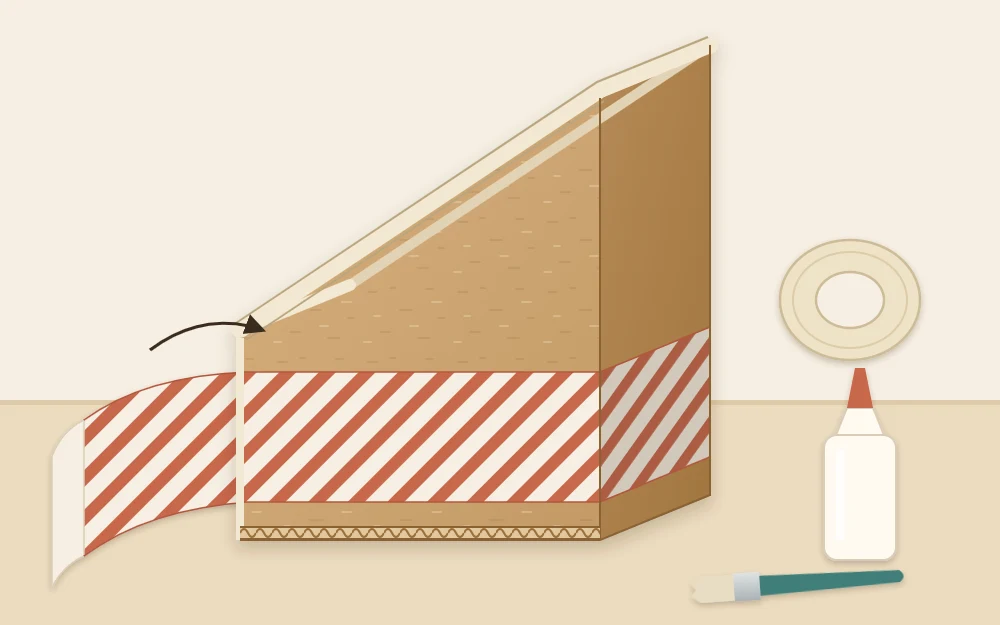
Above the band, either cover the two sides and the back with pieces marked by laying the holder on the paper, one wall at a time, and drawing around it, or paint them in a matching color. The guide to painting and covering cardboard without warping explains how to keep the walls flat.
Make a matching set
Three or four holders in a row look deliberate in a way that one does not. Use boxes of the same size, set the same lip height, and mark each slope by laying the saved offcut into the top front corner of the side wall and drawing along its long edge.
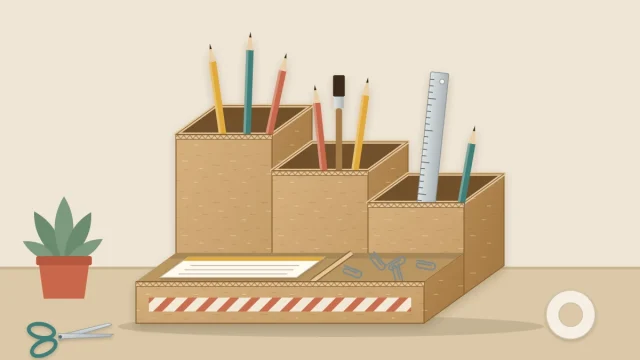
On a desk, a holder pairs well with a cardboard organizer for pens and notes finished in the same way.
To resize, keep the proportions: a lip a little under half the back height, and a base at least as deep as the widest item. Use the holders for magazines, workbooks, files and other light, dry paper goods, and avoid packing them so tightly that the sides bulge.
Frequently asked questions
What size box works best for a magazine holder?
A box with a base about 4 in wide and 9 to 10 in from front to back, standing at least 12 in tall. That fits standard magazines and letter-size workbooks. For smaller workbooks or paperbacks, a shorter and shallower box works with the same angled cut.
Can I use a cereal box instead of a shipping box?
Yes, for light contents such as a few thin workbooks or loose papers. Thin paperboard cuts easily with scissors, so no knife is needed, but the walls flex more. Gluing a second layer of card inside the base and the front lip helps it keep its shape.
How do I keep several holders looking identical?
Start with boxes of the same size, measure the lip height up from the base on each one, and use the triangular offcut from the first holder as a marking guide for the slope on the rest. Cover them all from the same roll or sheet of paper.