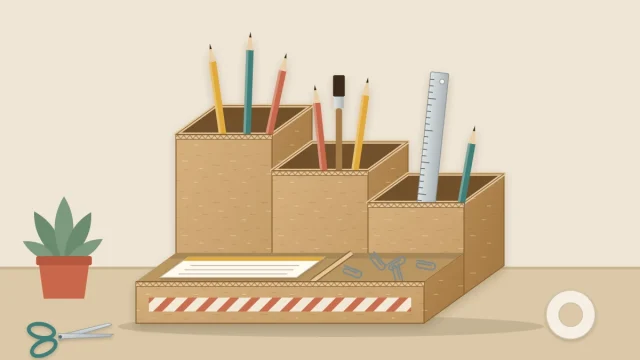
How to Make a Sturdy Cardboard Storage Box With Handles
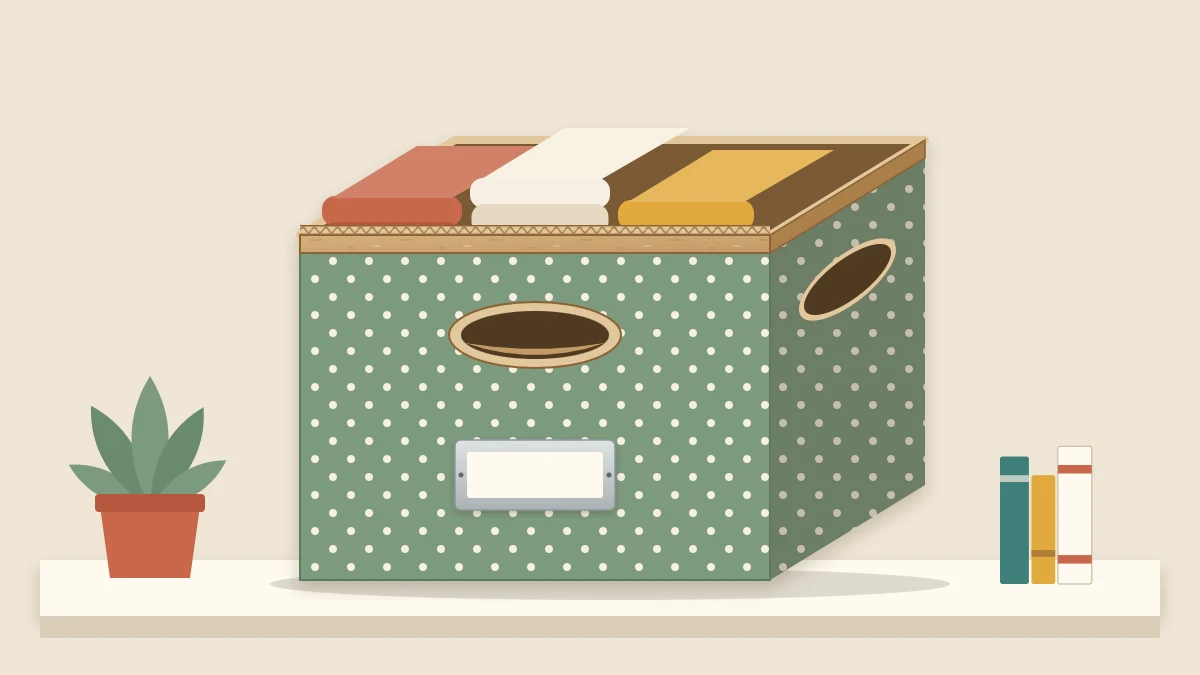
Turn a clean shipping box into a shelf storage box: cut it to height, fold the flaps inside to double the walls, add a second base, cut reinforced oval handles and cover it.
Project at a glance
Materials
- Clean shipping box
- Metal ruler, pencil and compass
- Craft knife or safety cutter and cutting mat
- White (PVA) glue
- Paper tape
- Binder clips or clothespins
- Paper or cotton fabric for the cover
A shipping box already has four walls, a base and square corners. What it lacks is stiffness at the rim, somewhere to grip it and a surface you would want to look at on a shelf.
This project turns one clean shipping box into a cardboard storage box with doubled walls, a second base layer, reinforced oval handles and a paper or fabric cover. The worked example starts from a box 12 in (30.5 cm) long, 9 in (23 cm) wide and 10 in (25.5 cm) tall and finishes 7 in (18 cm) high.
Choose the box and the finished height
Pick a clean, dry single-wall corrugated box with uncrushed corners. Peel off plastic tape and labels, glue the bottom flaps shut with white (PVA) glue and cover the outside seam with paper tape.
Decide the finished height from your shelf space. Then stand the top flaps straight up and measure the full wall from the base to the flap tips: 10 in of wall plus 4 1/2 in (11.5 cm) of flap, or 14 1/2 in (37 cm), in the example. Everything above the finished height will fold down inside to line the walls.
Mark the fold and the cut
You need three lines around the outside of the box, all measured up from the base. For a finished height of 7 in:
- First score line at the finished height: 7 in.
- Second score line one board thickness higher: 7 1/8 in (18.3 cm). The two scores let the board wrap over its own thickness instead of cracking.
- Cut line at twice the finished height less 1/4 in (6 mm): 14 in less 1/4 in is 13 3/4 in (35 cm).
In the example, the cut line is 3/4 in (2 cm) below the flap tips, so that much is trimmed off each flap. The lining will then be 6 5/8 in (16.8 cm) long, which stops 3/8 in (1 cm) above the floor and leaves room for the second base layer.
If your box is too short to reach the cut line, skip the trimming. The lining will still double the rim and the handle area.
Cut down and fold the lining
- Trim the flaps at the cut line.
- Slit each of the four corners from the top down to the first score line, and no further.
- Score both lines on every wall and fold each flap inward and down.
- Trim about 1/8 in (3 mm) from both side edges of the two long flaps, and about 1/4 in from both side edges of the two short flaps, so they sit side by side inside the corners.
- Dry fit all four, then glue the long flaps down first and the short flaps second. Hold the rim with binder clips or clothespins for roughly 20 to 30 minutes.
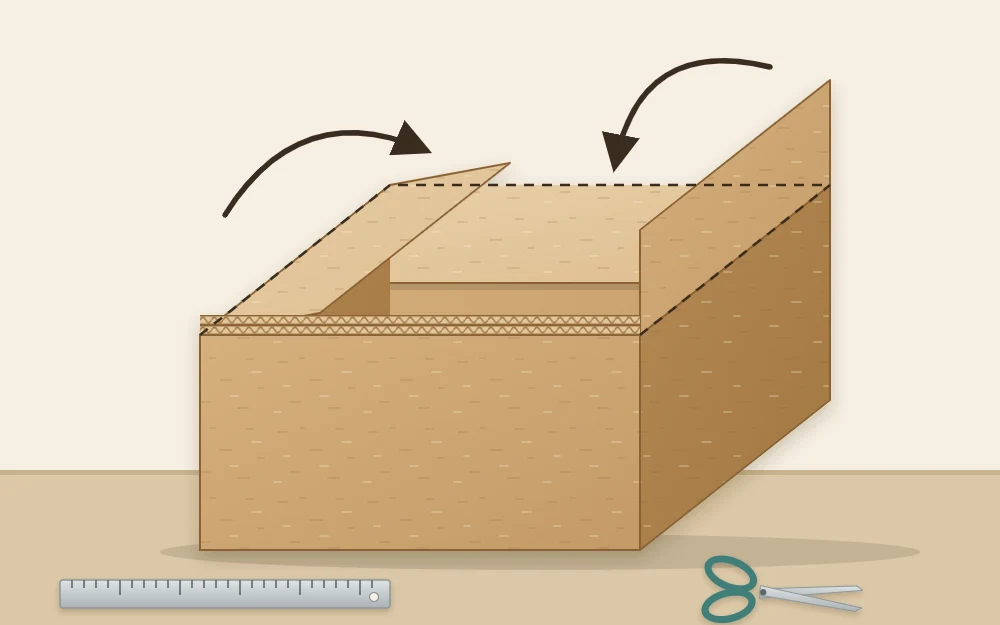
Doubling walls is one of several methods in the guide to making cardboard stiffer.
Add a second base layer
Measure the floor between the linings and cut a panel to fit, close to 11 3/4 x 8 3/4 in (30 x 22 cm) in the example. Test it dry, then turn it so its flutes cross those of the box floor, glue it in with a thin, even coat and weigh it down with books while it sets.
Cut and reinforce the handles
The handles go in the two short walls, cut through both layers once the lining glue has dried for several hours. Each opening is an oval slot 4 in (10 cm) wide and 1 1/4 in (3.2 cm) tall.
- Find the center of the short wall: 4 1/2 in from either corner on a 9 in wall.
- Draw a horizontal line 2 1/8 in (5.4 cm) below the rim. This is the middle of the slot.
- On that line, mark two points 1 3/8 in (3.5 cm) either side of center. With a compass, draw a circle of 5/8 in (1.6 cm) radius around each point.
- Join the tops and the bottoms of the two circles with straight lines. The slot spans 2 3/4 in between centers plus 5/8 in at each end, which is 4 in.
- Cut out the slot.
Safety note
Cutting through a doubled wall with a craft knife is a job for an adult. Slide a cutting mat or thick scrap inside the box behind the wall, make several light passes, keep your free hand behind the cutting path and cut away from your body. Cap or retract the blade when you put it down. For the straight trimming, a safety cutter with a shielded blade or strong scissors will do.
For each handle, cut a patch 6 x 3 1/4 in (15 x 8.3 cm) with its flutes running the long way. Cut the same slot in its center, which leaves a 1 in (2.5 cm) border all around. Glue the patch inside the box with the slots lined up and clip it until the glue grabs.

Wrap short strips of paper tape through each slot to round over the cut edge.
Cover the outside
Paper or cotton fabric both work. Cut one strip long enough to wrap all four walls with a 1/2 in (12 mm) overlap, which is 42 1/2 in (108 cm) for the example, or join two shorter pieces at a corner. Make it 9 in tall: 7 in of wall, 1 in to turn under the base and 1 in to fold over the rim.
Use a thin coat of white glue and smooth from the center of each wall toward the corners. Slit the cover in an X across each handle and fold the points inside. The guide to painting and covering cardboard without warping explains how to keep panels flat.
Add a label holder
Cut a frame 3 1/2 x 2 in (9 x 5 cm) from thin paperboard and cut a window 2 1/2 x 1 in (6.4 x 2.5 cm) in its center. Glue it to one short wall along the two sides and the bottom only, with a glue line about 1/4 in wide. The open top forms a pocket for a slip of card just under 3 in wide.
Resizing and sensible use
The method scales to any box: score at the finished height and one thickness above it, and cut at twice the height less 1/4 in. On narrow walls, shorten the handle slot by moving the circle centers closer together.
If you have no suitable box, or want a small lidded one, you can build a box from a flat net instead. Either way, use the finished box for light, dry household items such as linens, yarn or craft supplies, and lift a full box from underneath.
Frequently asked questions
What can I keep in a cardboard storage box?
Light, dry household items: folded linens, scarves, yarn, craft supplies, cables, toys or paper goods. Cardboard softens when it gets damp, so keep the box off bathroom floors and out of basements, and lift a full box from underneath with both hands.
Do I have to fold the flaps inside, or can I just cut the box down?
You can simply cut it down, but the folded lining is what makes the box feel solid. It doubles the walls, gives a smooth rounded rim with no exposed corrugation and puts two layers of board where the handles are cut. It uses material you would otherwise throw away.
Should I cover the box with paper or fabric?
Paper is quicker and gives crisp corners. Cotton fabric hides small bumps and stands up better to handling, but it needs a thin, even coat of glue so nothing soaks through. With either one, cover the box after the handles are cut and reinforced.