Easy Cardboard Craft Ideas: 12 Quick Projects for an Afternoon
Twelve small, original cardboard projects you can finish in an afternoon, from bookmarks and gift tags to a phone stand and a drawer divider, each with what it needs and a rough time.
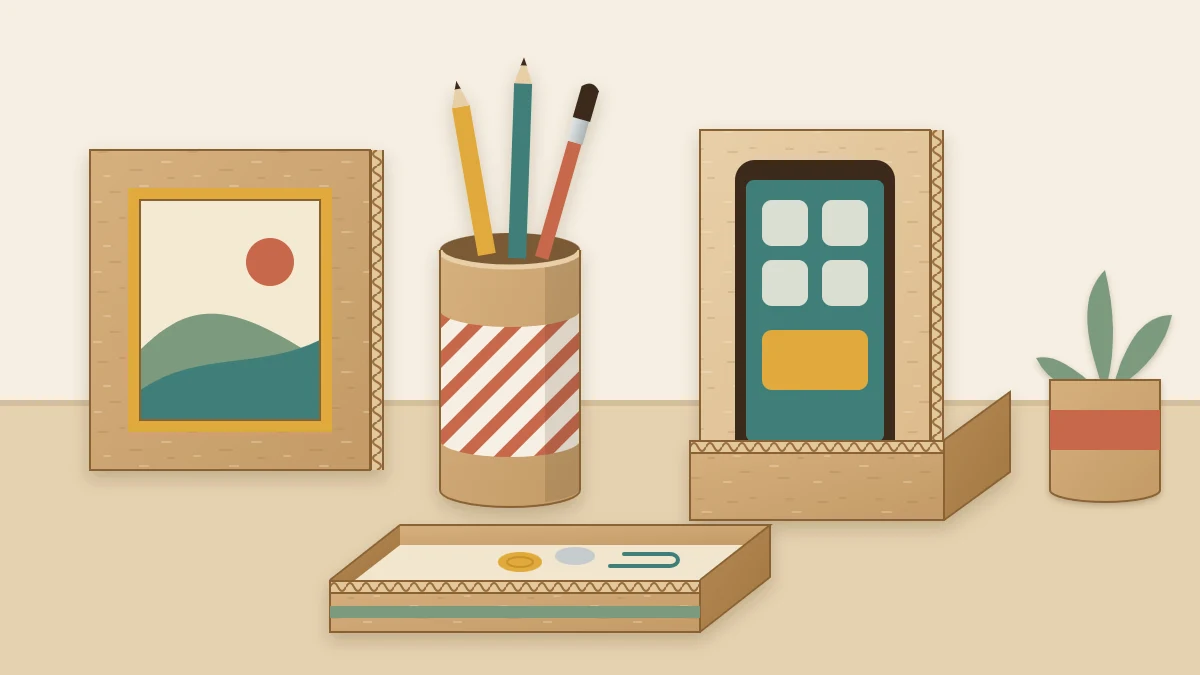
Some days you want to make something with your hands and have it finished before dinner. A flattened box from the recycling bin, a few tubes and a bottle of white glue are enough for that.
These twelve easy cardboard crafts are all original, small and practical. Each one lists what it needs and roughly how long it takes, not counting the time glue needs to dry. Where a project has a full tutorial with measurements, you will find the link beside it.
What to gather first
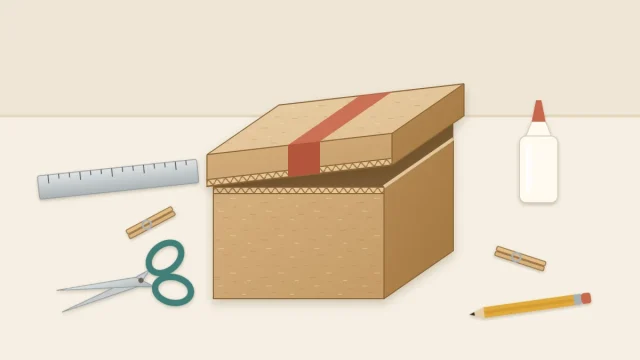
Most of these projects use the same short kit: scissors, a metal ruler, a pencil, white (PVA) glue and a few clothespins. Thin paperboard from cereal-style boxes cuts with scissors, and so do short lengths of single-wall corrugated cardboard.
A few ideas go faster with a craft knife. That is a job for an adult, working on a cutting mat with a metal ruler and several light passes, fingers behind the cutting path. A safety cutter with a shielded blade is a fine alternative, and every project here can be adapted to scissors.
Flat projects from thin paperboard
1. Bookmarks
Needs: thin paperboard, scissors, scrap paper or paint. Time: about 15 to 20 minutes.
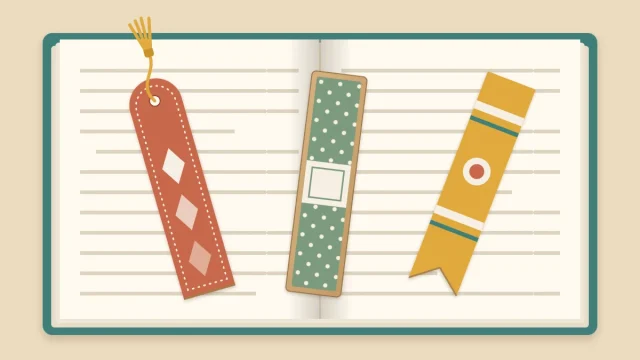
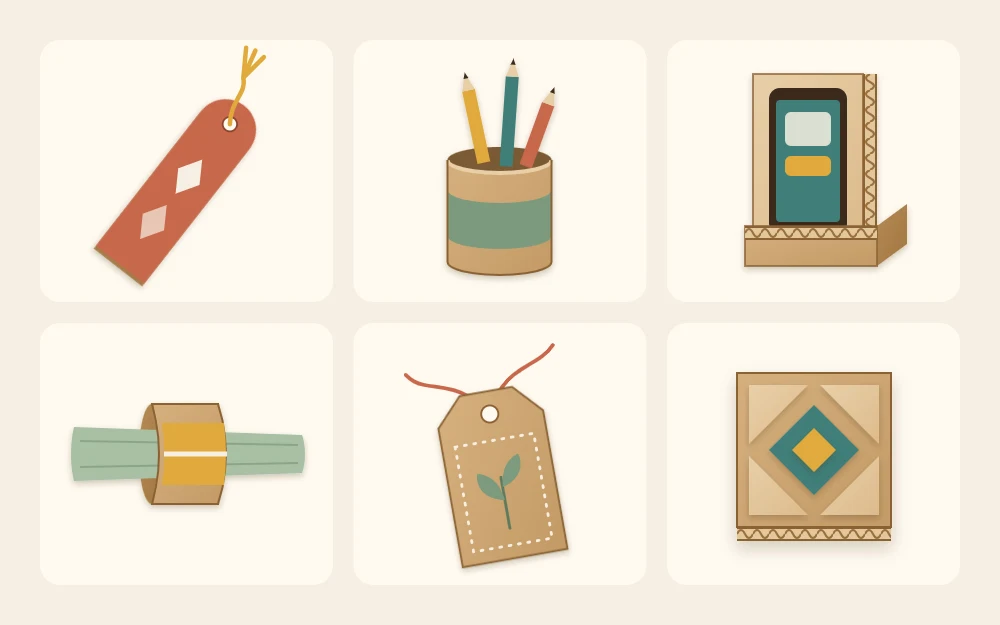
Cut a strip about 2 x 6 in (5 x 15 cm), round the top corners and cover both faces with paper. The guide to five cardboard bookmark designs adds corner, clip and woven versions.
2. Gift tags
Needs: thin paperboard, scissors, a hole punch or sharp pencil, twine. Time: about 10 minutes for a set of six.
Cut rectangles about 2 x 3 in (5 x 7.5 cm), snip two corners off one end and make a hole between them. Leave the plain side as it is for writing and decorate the other.
3. Cable tidy cards
Needs: chipboard or two glued layers of thin paperboard, scissors. Time: about 10 minutes each.
Cut a card about 2 x 4 in (5 x 10 cm) and snip a narrow V-shaped notch into each short end. Wind a charging cable or earphones around the middle and catch the ends in the notches.
4. Wall tile
Needs: single-wall corrugated cardboard, scissors, white glue, paint if you like. Time: about 30 to 45 minutes.
Cut a 6 in (15 cm) square base, then glue on smaller squares, strips or triangles to build a raised pattern.
Projects from cardboard tubes
5. Pencil cup
Needs: a sturdy tube about 3 in (7.5 cm) across, or three paper towel tubes, plus a scrap of corrugated board. Time: about 20 to 30 minutes.
Trim the tube to about 4 in (10 cm) tall. Stand it on the scrap, trace around it, cut out the circle and glue it on as a base. With narrow tubes, glue three together side by side at different heights on one shared base.
6. Napkin rings
Needs: a paper towel tube, scissors, paper, twine or fabric scraps. Time: about 20 minutes for four.
Flatten the tube gently, cut rings about 1 1/2 in (4 cm) wide and reshape them into circles. Wrap each ring in paper or wind it closely with twine, gluing the start and end on the inside.
Folded and slotted projects
7. Phone stand
Needs: single-wall corrugated cardboard, ruler, scissors or a safety cutter. Time: about 20 minutes.
Cut a strip 3 1/2 x 9 in (9 x 23 cm) with the flutes running across the short width. Score across it at 4 in (10 cm) and at 7 1/2 in (19 cm) from one end. Fold the first score into a peak like a tent, then fold the last 1 1/2 in (4 cm) upward as a lip to stop the phone from sliding. Glue a strip of scrap between the two feet so the tent cannot spread.
8. Plant-pot sleeve
Needs: thin paperboard or micro-flute board, a tape measure, glue, clothespins. Time: about 25 minutes.
Measure around the widest part of the pot and add 3/4 in (2 cm) for an overlap. Cut a band to that length and about as tall as the pot, wrap it into a ring and glue the overlap. The sleeve is a decorative cover for the outside only, so slip it off before watering and keep it dry.
9. Drawer divider
Needs: single-wall corrugated cardboard, ruler, scissors or a safety cutter. Time: about 30 minutes.
Cut one strip to the inside length of the drawer and one to its width, both a little lower than the drawer sides. Cut a slot halfway down the middle of one and halfway up the middle of the other, each as wide as the board is thick, then slide the two together into a cross. No glue is needed.
Layered projects with a little more shape
10. Catch-all tray
Needs: single-wall corrugated cardboard, glue, clothespins, paper for lining. Time: about 45 to 60 minutes.
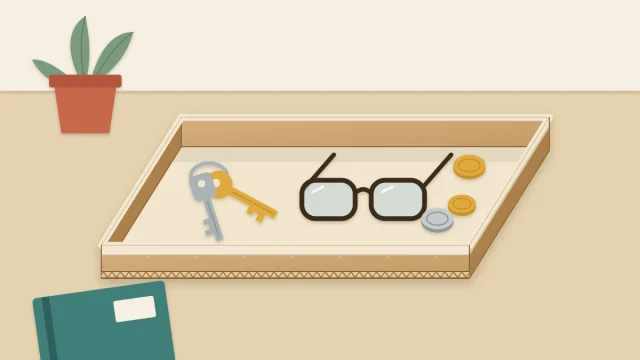
A shallow tray with a doubled base keeps keys and coins in one place by the door. The full net and steps are in the tutorial for a cardboard tray for keys and small items.
11. Simple frame
Needs: chipboard or corrugated cardboard, glue, paint or paper. Time: about 45 to 60 minutes.
Three layers, a front with a window, a spacer and a back, make a pocket that a print slides into. See how to make a picture frame that stands or hangs for the dimensions for a 4 x 6 in (10 x 15 cm) print.
12. Layered mat for dry items
Needs: thin paperboard, scissors, glue, a heavy book. Time: about 20 minutes, plus pressing overnight.
Cut three 4 in (10 cm) squares or circles, glue them into a stack with thin coats and press them flat under the book. Cover the top with decorative paper. Use it under a small ornament or desk accessory, not under wet or hot cups.
How to choose a project for today
Match the idea to the time and material you have:
- Under 20 minutes: gift tags, cable tidy cards, bookmarks.
- About half an hour: pencil cup, napkin rings, phone stand, plant-pot sleeve, drawer divider.
- Up to an hour: wall tile, tray, frame.
- Only cereal-style boxes on hand: any of the flat projects, plus the layered mat.
- Only a shipping box: phone stand, drawer divider, wall tile or tray.
Finishing touches and next steps
A quick finish lifts even the simplest piece. Run a strip of paper tape over raw corrugated edges and round sharp corners with scissors. All of these are light, decorative household items, so keep them dry and away from heat.
Once a couple of these feel comfortable, try a project with more parts. A desk organizer with compartments uses the same cutting and gluing on a larger scale and makes a good first full-afternoon build.
Frequently asked questions
What can I make from a cardboard box in under an hour?
Plenty of small, useful things. A phone stand, a slotted drawer divider, a wall tile and a shallow tray can each be cut and assembled from one shipping box in well under an hour of working time. Allow extra time afterward for white glue to dry before using anything.
Which easy cardboard crafts need only scissors?
Bookmarks, gift tags, cable tidy cards, napkin rings, the plant-pot sleeve and the layered mat are all made from thin paperboard or light tubes that ordinary scissors cut cleanly. Short straight cuts in single-wall corrugated board are also manageable with scissors if you cut slowly and avoid squeezing the flutes.
How do I make quick cardboard projects look less like packaging?
Hide the two giveaways: printed surfaces and raw corrugated edges. Work with the plain side out or cover the print with paper, bind exposed edges with a strip of paper tape, and round the corners slightly. A single color of acrylic paint or one patterned paper keeps the result calm.